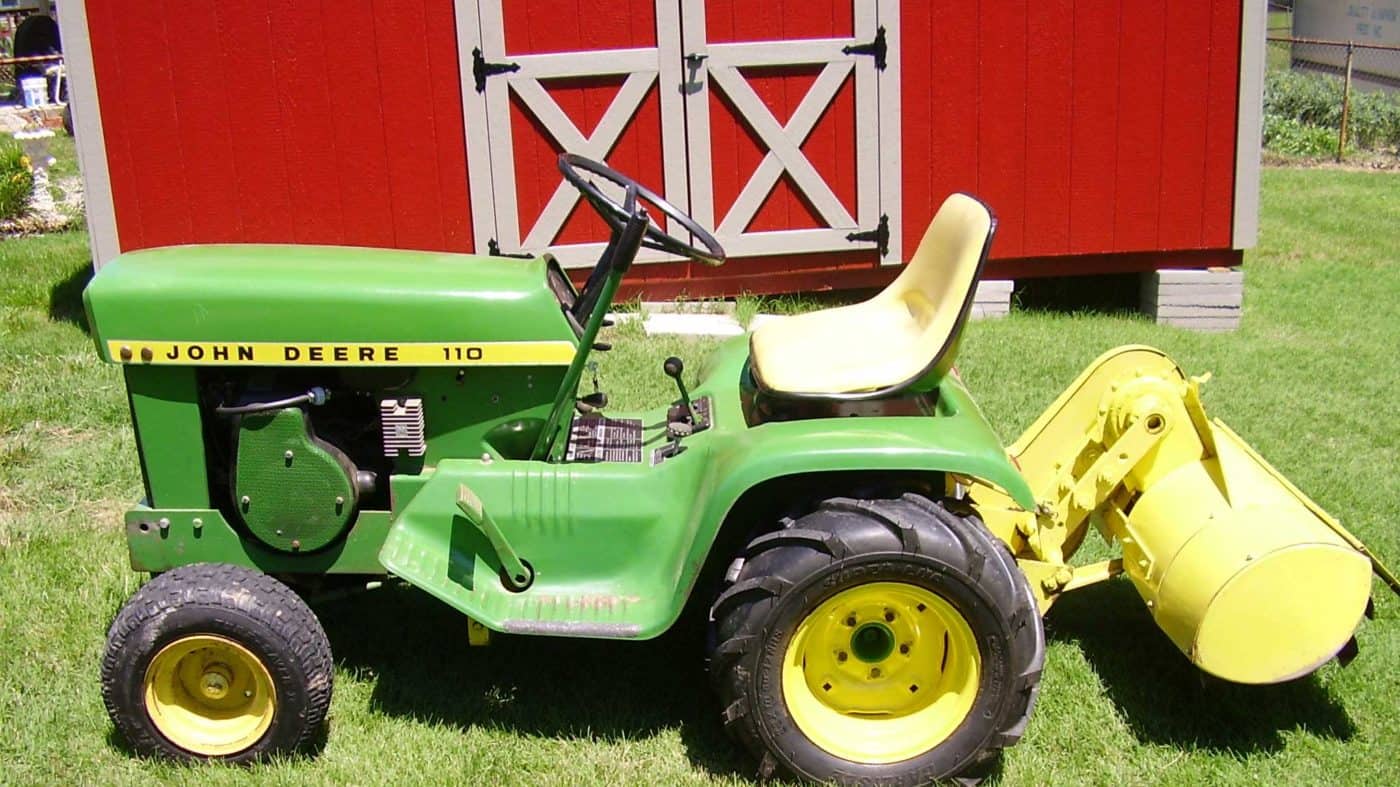
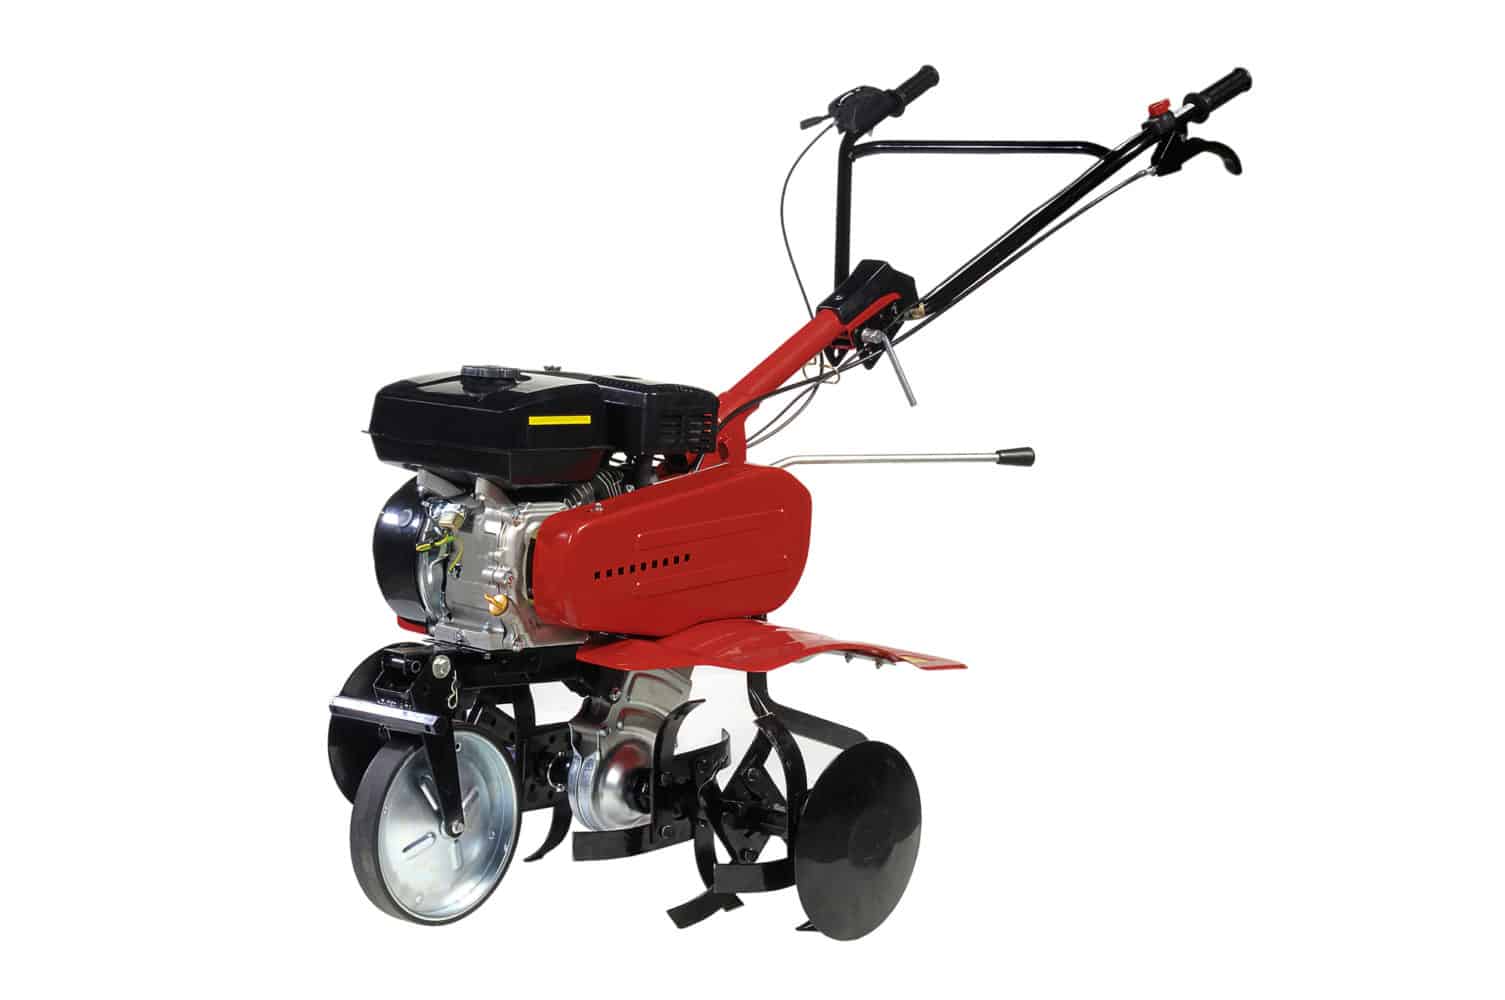
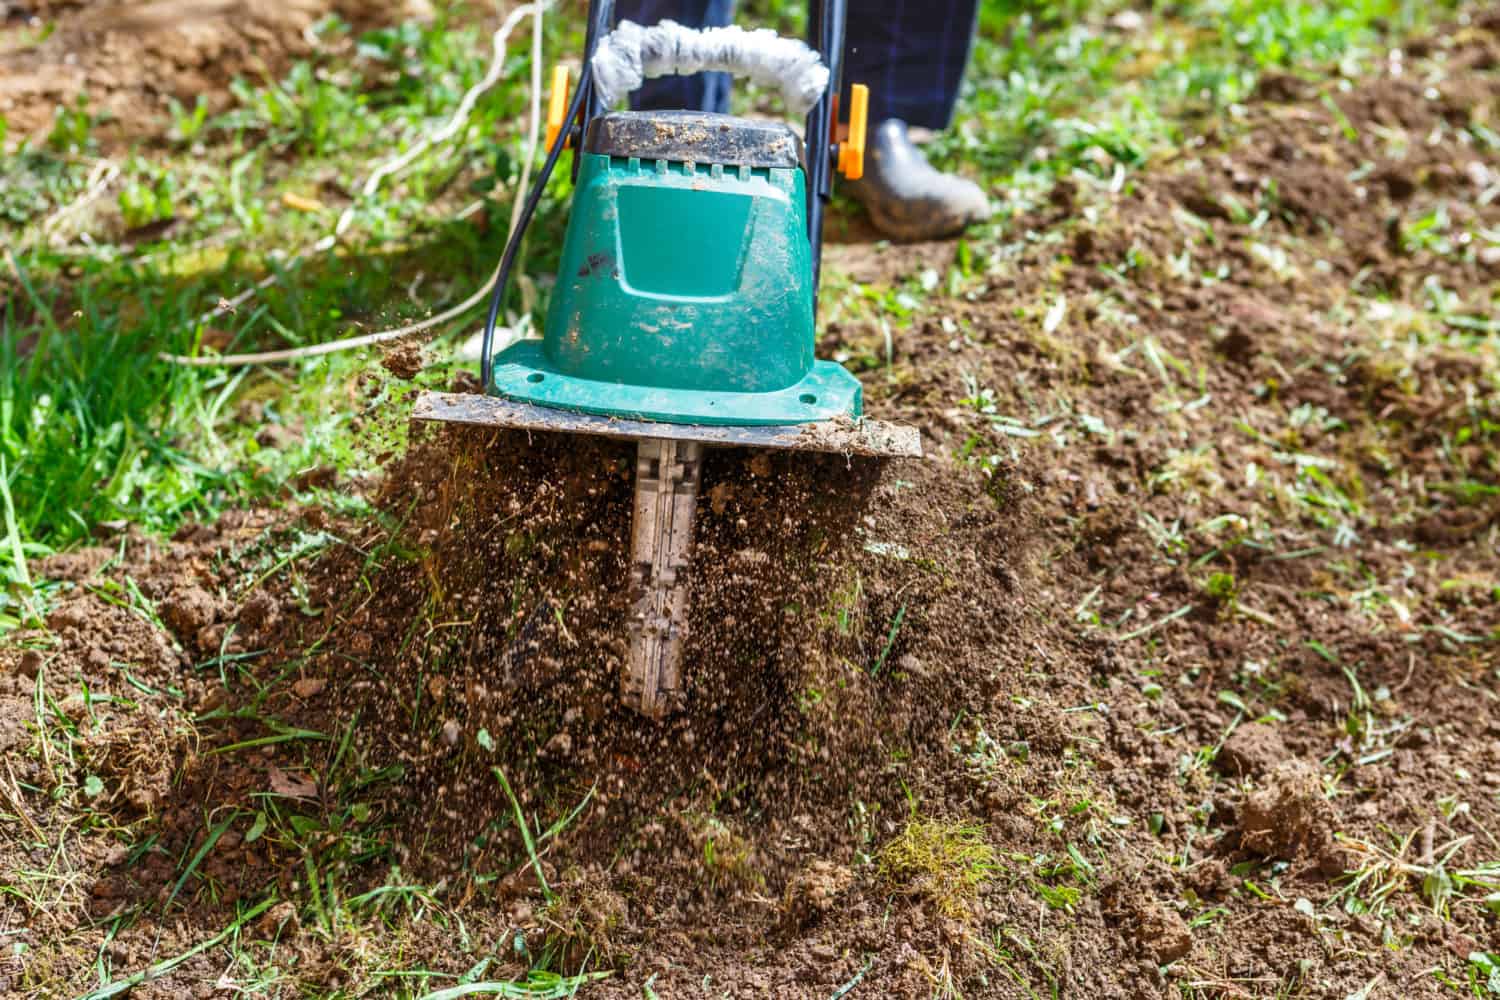
Removing grass from your lawn or an open field to create space for shrubs, flowers, vegetables, or outdoor play space can be very hard work. It can be expensive and time-consuming. The best power tiller is your best tool to remove grass permanently — although many homeowners consider other methods before choosing their tillers as the single, best way to repurpose grassy spaces.
Contents
What Makes Your Tiller Best for Grass Removal?
While using a power tiller to remove grass is the best way to remove grass permanently, it’s not the only way to tackle this project.
Hand tools such as spades, hoes, shovels, and trowels give you fine control over removing every blade and stem, and root of grass in your project space. Depending on how much clay is in your soil, you can use your own muscle power to remove maybe 50 square feet of sod in an hour. You just take a sharp shovel, spade, or edger and dig down into the ground in a square pattern around about one foot by one foot of grass, run the edge of your digging implement under the grass, lift, and haul away.
Using hand tools to get rid of grass is great exercise. It is not at all expensive, assuming you don’t have to spend several thousand dollars at the chiropractor’s office when your back goes out. And if you find insects in the soil that you want to remove, like beetle grubs, you may wind up spending a lot of time on the task that isn’t directly related to removing grass. And when you remove sod, you also remove soil. You will have to replace the soil and organic matter you dig up to nourish the plants you use to replace the grass.
In warmer, sunnier locations some homeowners try to get rid of grass with solarization. The idea is that you put down a sheet of clear plastic over a grassy area you have mowed to capture heat from the sun that kills the grass.
The soil has to get hot enough to produce steam to kill the grass, weeds, and insects you want to remove. Sandy soils usually don’t get hot enough to kill grass with this method, and even on heavier soils on which this method will work, you will have an unsightly spread of plastic that you have to keep weighted down for two or three months. Perennial weeds often survive solarization.
The herbicide glyphosate kills grass a few days after it is sprayed. This is the chemical in Roundup and similar products. It is effective on grass and weeds. It also kills trees, shrubs, flowers, frogs, and fish. There are links between frequent use of glyphosate and cancer, and getting it on your skin can cause a reaction similar to getting into poison ivy. It has no effect on seeds that may sprout into more grass when you water in replacement plants.
A lazy method of grass removal is planting perennials in the bed you want to clear of grass and fertilizing them to grow and shade the grass beneath them. There are several problems with this approach. One is that you may wind up with perennials you don’t like instead of grass you don’t like. The other is that many grasses grow just fine in the shade, so you wind up with a patch of ground.
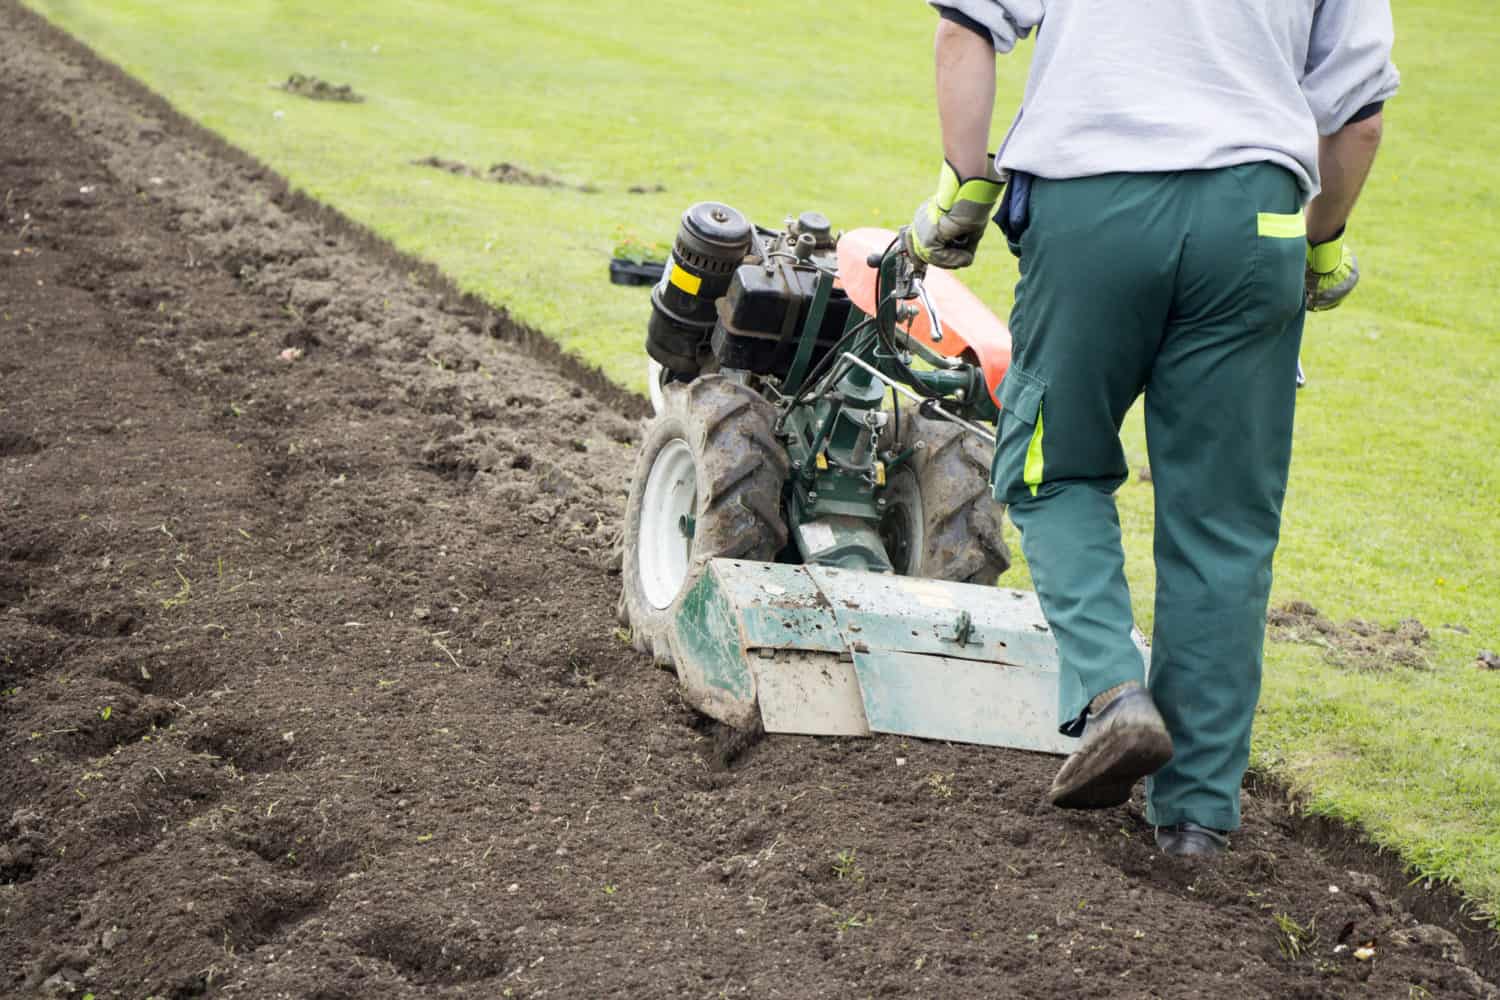
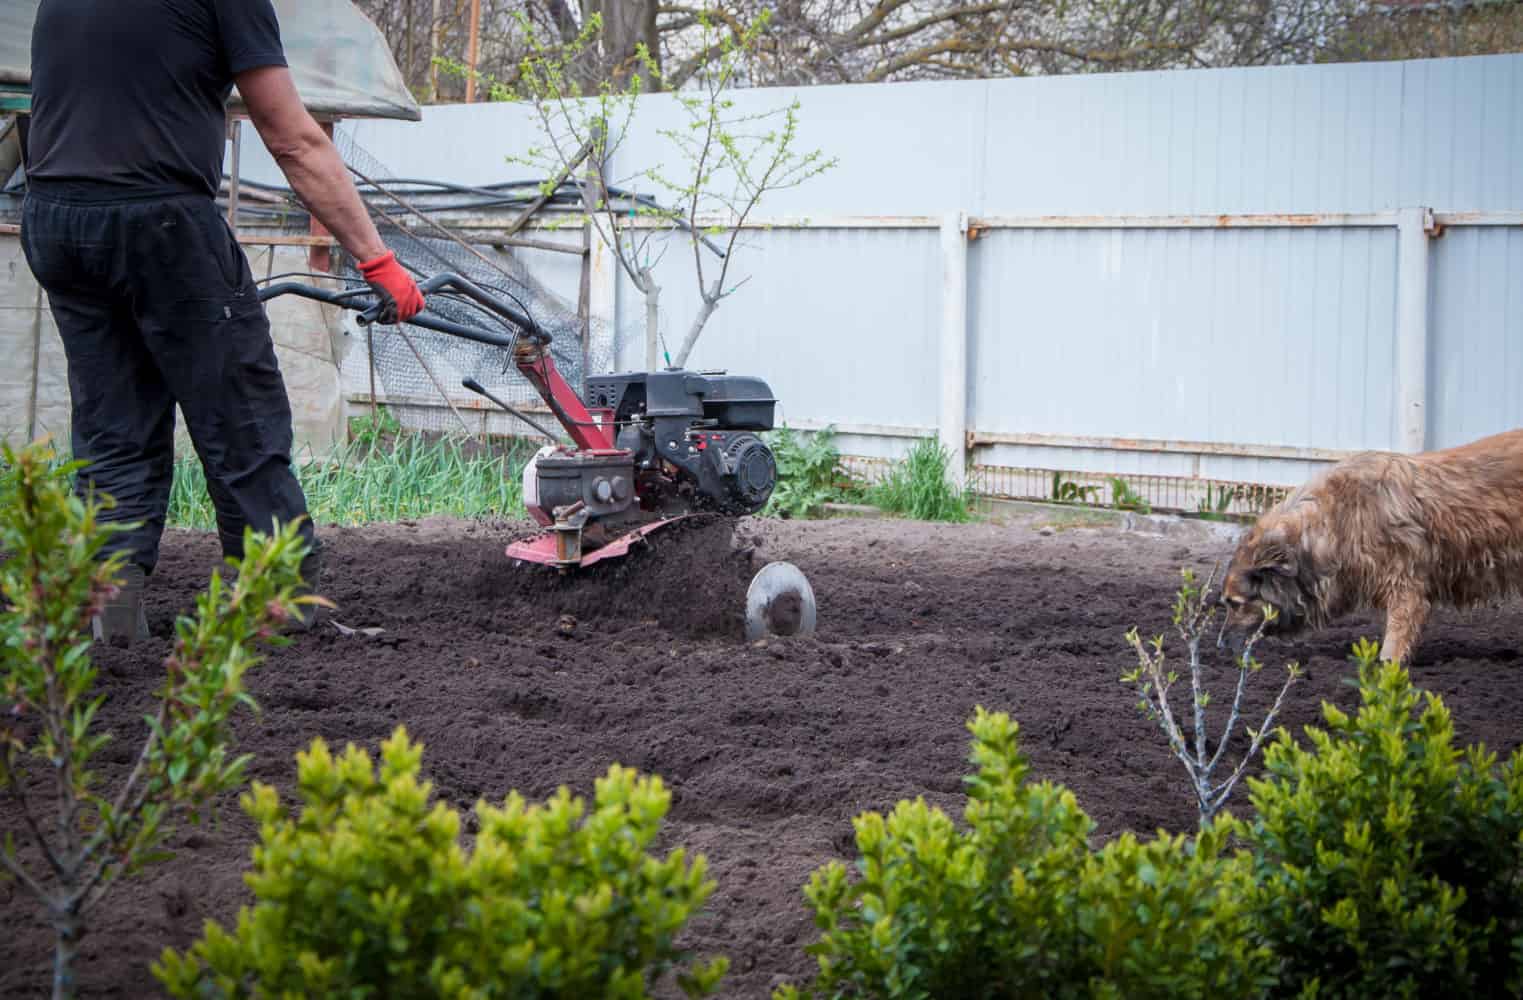
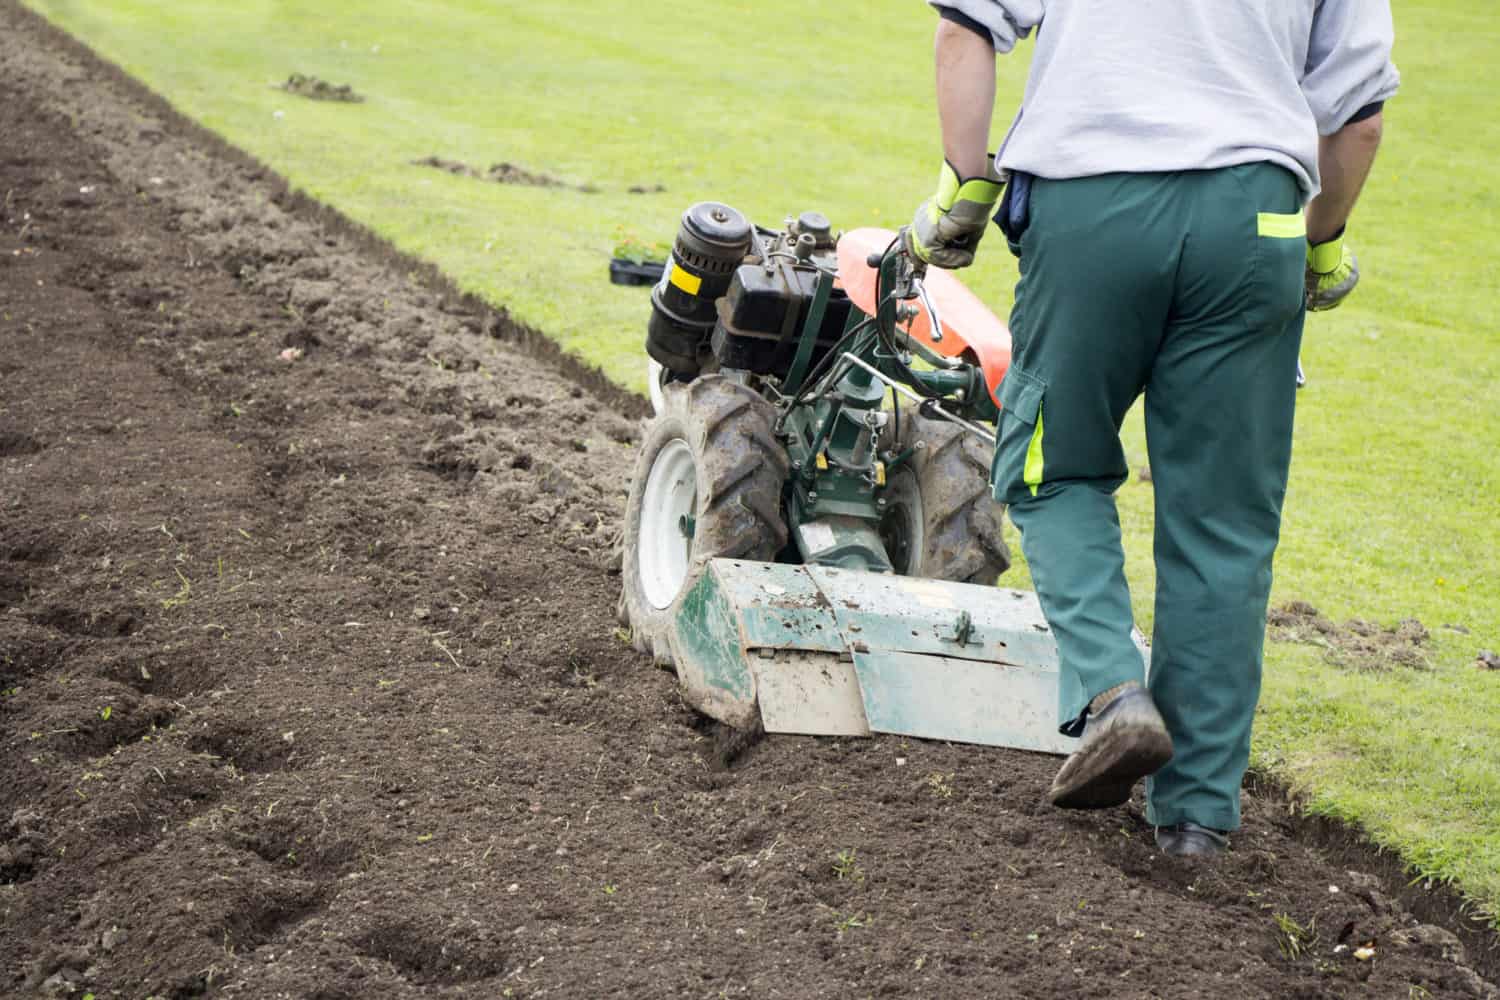
Power tilling is the efficient and easy method of grass removal that always works. Using a power tiller requires some muscle power, but it’s easier work than digging sod and pulling out roots, and it is many times faster than other methods.
You can use a power tiller to clear out grass and weeds from 1,000 square feet in less than two hours. You could not do this area by hand in two days. Your power tiller will churn the ground to bury weed seeds too deep for them to sprout, and, maybe after a second pass over especially grassy ground, chop up grass stems and stolons into pieces too small to sprout new ground cover.
Now let’s consider the easy steps involved in using your tiller to get rid of grass.
Read your safety manual before you do anything else
Every tiller has safety features. You will avoid injury, pain, and lost time by making yourself thoroughly familiar with your tiller’s safety features before you start the tilling process.
Types of Tiller
Clear the Ground
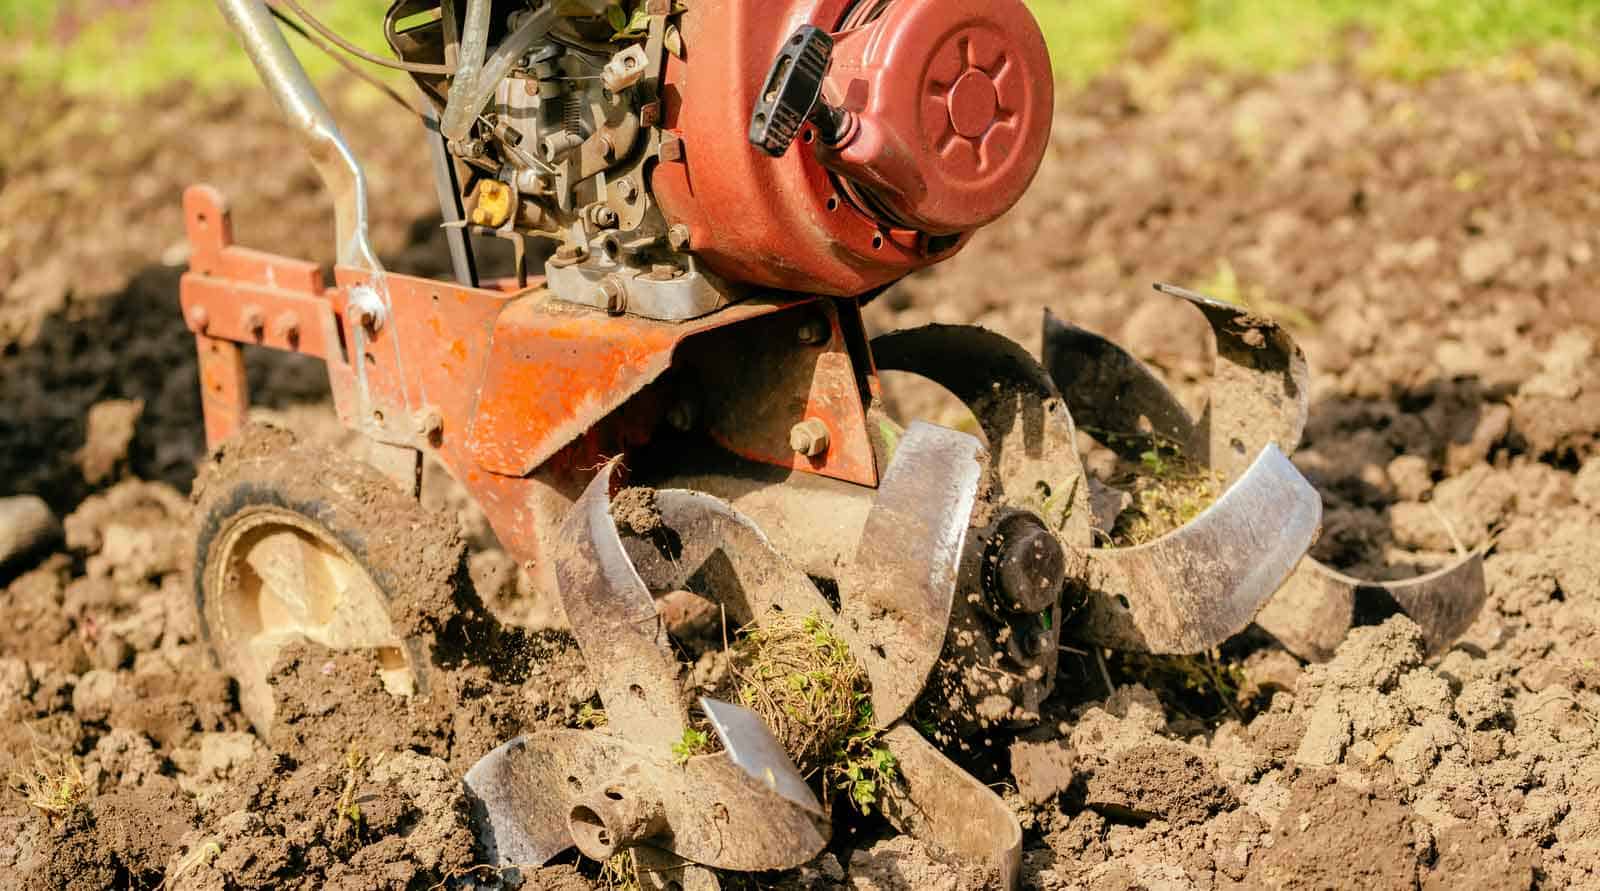
It is important to remember that you are working with a power tiller, not a power mower. You don’t want your tiller to have to fight above-ground growth as it is getting into the soil to remove grass roots and seeds. Failing to mow the area you want to till first will result in your tiller’s getting clogged up in just a few seconds, and you will spend more time pulling long grass and weeds out of the tines of your tiller than you spend tilling.
So, mow any tall grass before you start using your tiller to remove grass. If you have hay rows of deep grass clippings, haul them off to the compost heap before you begin working on the ground. Remove branches, brush, and large rocks on top of the ground. Even the most powerful tiller will have trouble cutting through large debris.
After Clearing, Water Dry Soil
Power tillers are designed to work best in moist soil. Think of the amount of moisture your houseplants need to thrive. Make sure the ground where you intend to use your tiller is about that consistency. Test the soil with your hands before you fire up your tiller.
Dry soil kicks up dust and makes the process of tilling unpleasant. On the other hand, you can’t use your tiller in mud. After you clear off major obstacles on top of the area you want to transform to gardening space, if the soil is dry to the touch, water the ground thoroughly. Then, if there is no rain, do your power tilling. This step is especially important for clay or caliche soils, but even loamy soils rich in humus need moisture to be pliable. Sandy soils made just moist enough are less likely to kick up gritty particles that can get into your nose and eyes during tilling if you water them a day or two ahead of your tilling operation.
Dress for Success
Operating a tiller requires appropriate clothing. Wear shoes with stiff soles and sides to protect your feet from sharp objects that may turn up during tilling and the tiller itself. Tilling is a time to wear pants, not shorts. Wear long sleeves to protect your arms, a hat to protect from the sun, and a mask if you have allergies to molds or dust.
Set Your Tiller Before You Turn It On
Every tiller has depth settings. There are settings for shallow digging and for deep digging. If you are concerned about hitting rocks and long roots of trees and evergreen shrubs in the front of your house, use a lower setting for a shallower dig. If you are confident that your soil is soft or sandy and there are no heavy roots or rocks, then you can use a higher setting for a deeper dig. But if you aren’t familiar with your soil at all, do the first pass at a shallow setting for safety and efficiency. You can always come back later for even greater improvement in soil tilth and killing every last trace of grass.
Ready, Aim, Go!
Position your tiller at the edge of the area you want to till, preferably at the bottom of a slope, if there is one (more about that in the next session). Grab your tiller’s handles with both hands. Position the blades on the surface of the soil. Turn the tiller on and press the clutch lever to lower the blades into the soil.
Your tiller will probably bounce a little as it digs through the soil. Keep a firm grip on both handles as it digs through the dirt and propels itself forward. If you find you are having to push your tiller to get it to go through the soil, turn it off, and once you have made sure the engine isn’t running, reset it for a shallower dig and start over.
Tilling in Straight Lines is More Effective
The most efficient way to use your tiller is to till in straight rows. It’s much easier to use the force of gravity to help you make a turn at the top of a slope than at the bottom. Start tilling on an upward slope and if you have trouble making a tight turn when you get back to the bottom of a slope, disengage the clutch and start over (without turning off the engine). You don’t want to put too much torque on your tiller when you make turns.
For your second pass over your new garden site, till in rows perpendicular to your first pass. That way the soil is thoroughly broken up and churned, and even more weed seeds and grass roots and stolons will be buried.
Don’t Leave Any Area Untilled
It’s important not to leave any grass or weeds alive to recolonize the ground you worked so hard to clear. When you have tilled to your satisfaction, rake the ground smooth and water one more time. That way you can come back in a week or so to do another round of tilling to get every last bit of grass and weeds out of your new garden space.
The above process of using a tiller to remove grass clears the new ground for flowers, vegetables, berries, and fruit to grow in abundance. Removing grass with your tiller is easy — if you have the right tiller.

