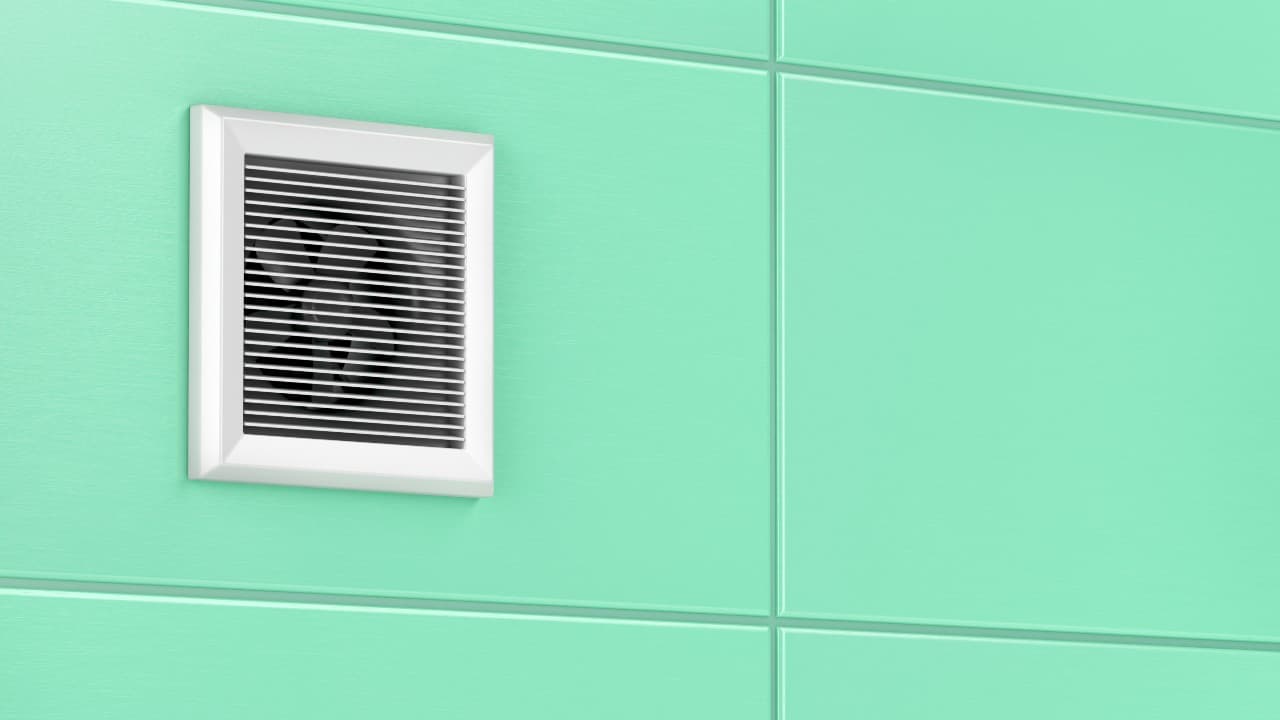
Are you thinking about removing your bathroom exhaust fan? Maybe you want to take it down in order to give it a thorough cleaning or to replace it completely with a brand new model. Either way, you’re in the right place – I’m here to help you out.
Removing one of these handy appliances is actually an easy job. If you have the right tools, the whole thing can be done in one afternoon. Let’s get started!
Contents
Step #1 – Turn Off the Power
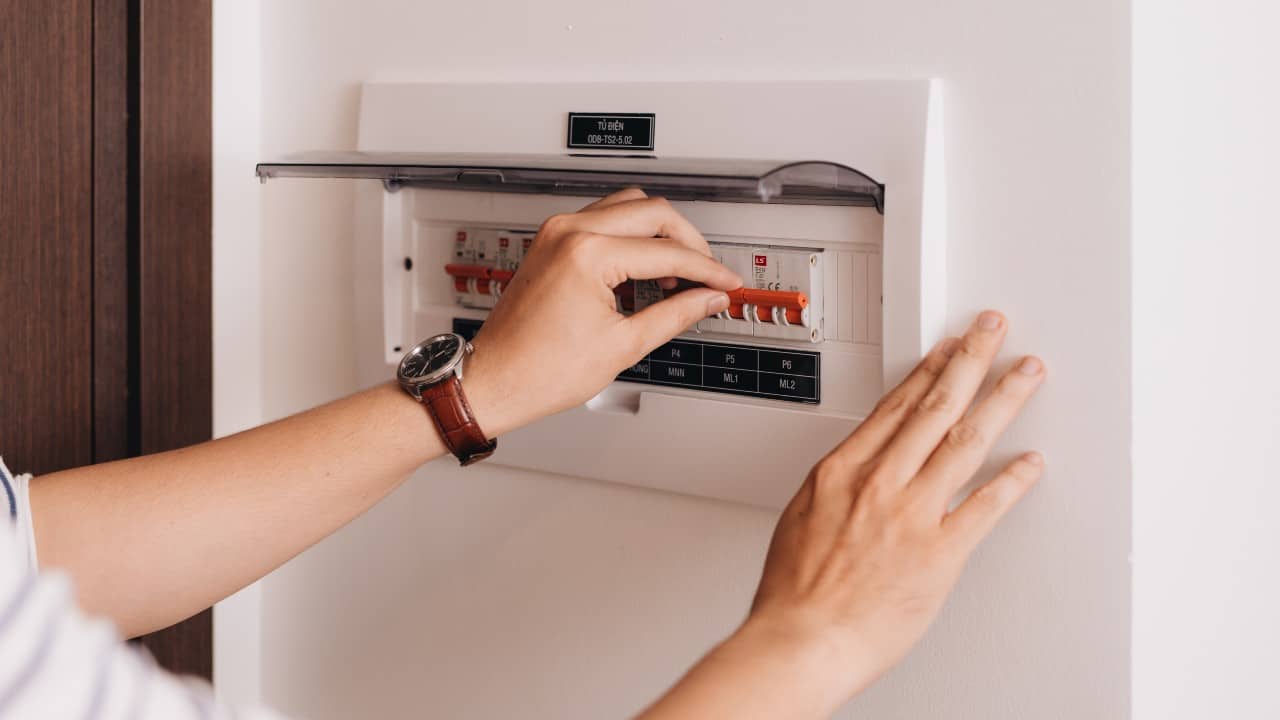
This one is a no-brainer – the very first thing you’ll have to do is cut off the power. After all, the last thing you want is to suffer serious injuries while trying to accomplish a task as simple as this one.
Go to your electrical panel box and make sure to shut down the adequate breaker. If you do this correctly, the bathroom exhaust fan won’t be turning on upon flipping its wall switch. In most cases, the bathroom outlets and the bathroom light won’t be working as well.
One tool I would highly recommend for this step is a non-contact voltage tester. This cheap (about $12) but extremely helpful device will help you verify that the power is truly off.
With this device, you won’t even have to touch the electrical wiring (hence the “non-contact” in the tool’s name) in order to determine whether the power is really off. If it isn’t, the tester will give off visual signals or beep loudly.
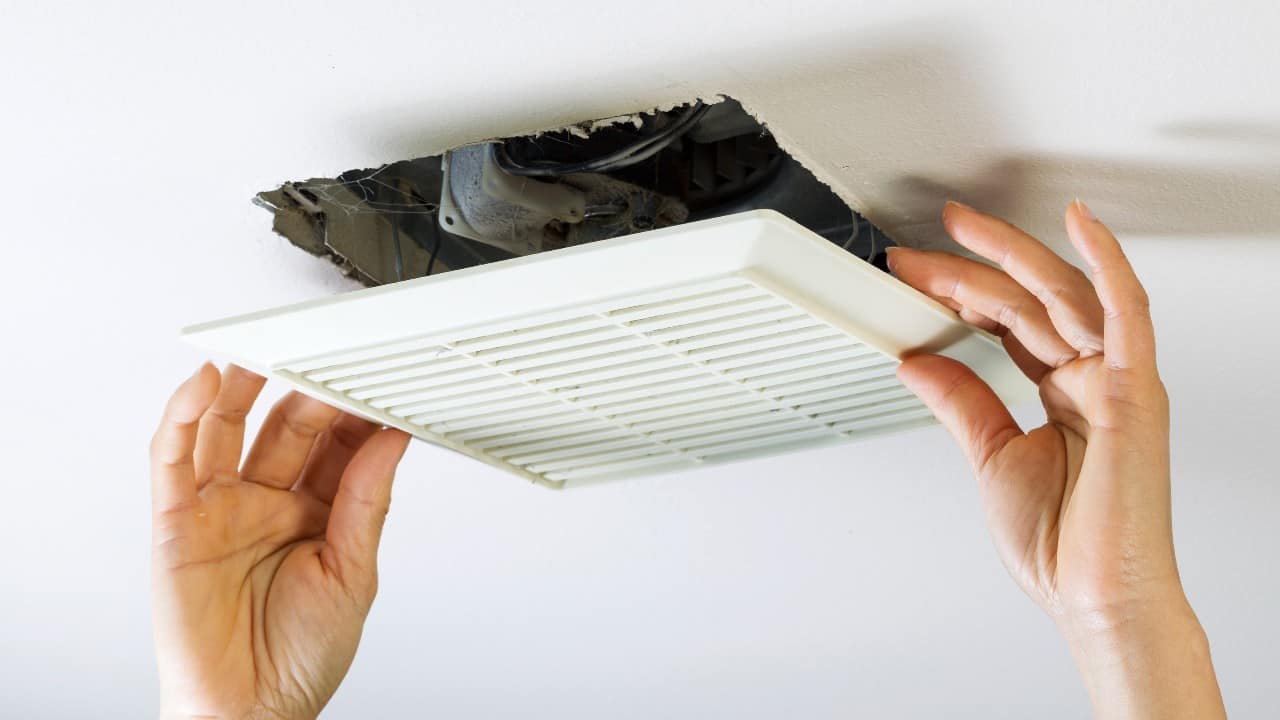
Step #2 – Remove the Grille
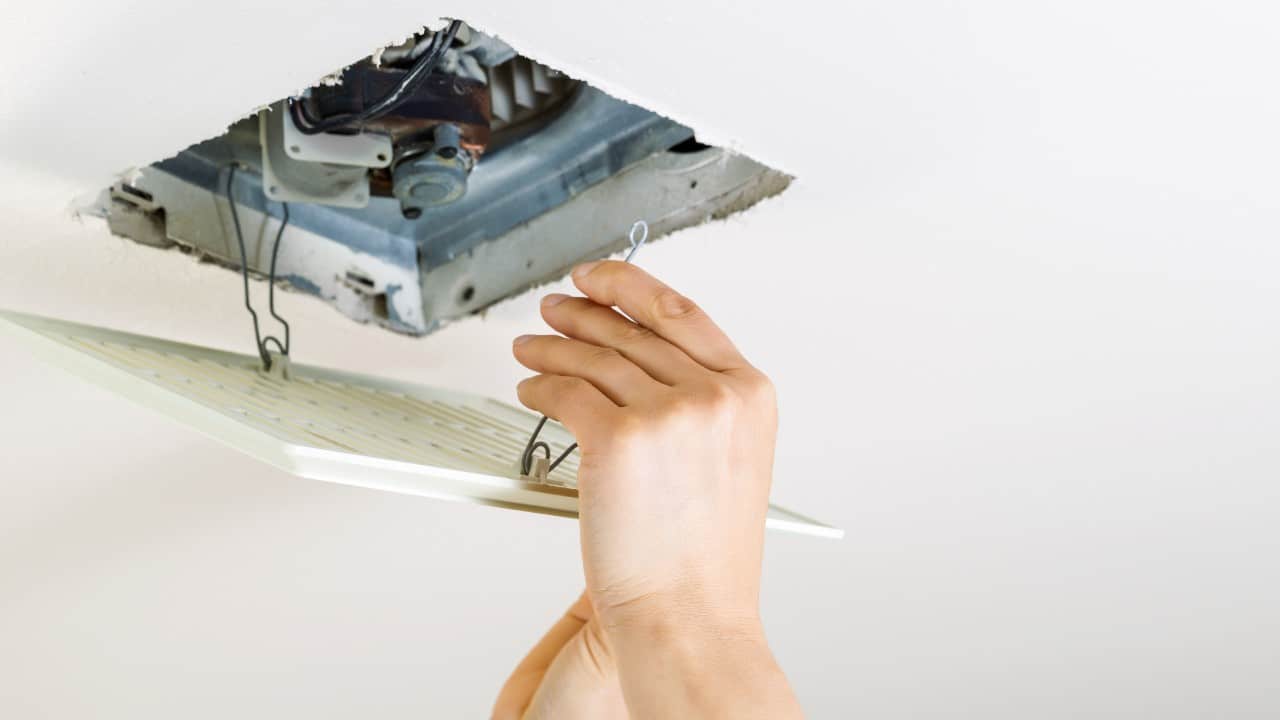
Once you’re completely certain that the power is off, you can move on to removing the bathroom exhaust fan grille. A vast majority of these appliances do not have a light – if it’s the same for your model, you simply have to pull down on its grille.
Once the cover is about an inch away from the ceiling, simply put your fingers between the cover and the housing and keep pulling until there’s enough space for you to access the metal spring clips.
These metal spring clips should be located on both sides of the cover – they are keeping it attached to the fan housing. Squeeze both clips at the same time with your hands in order to release them from their slots. After that, you should be able to completely remove the fan grille.
Step #3 – Remove the Light Lens
If you do have one of those convenient bathroom exhaust fans with lights, the aforementioned process of removing the grille will be a little bit different.
With some models, it is possible to unclip the center light lens by squeezing its sides together. And once you’ve done that, you will probably notice a single nut underneath the lens – remove it in order to be able to take down the rest of the cover.
On other bathroom exhaust fans with lights, this nut will be situated on the exterior rather than on the inside. It should be located right at the center of the appliance, which makes unscrewing it as easy as it gets.
Once the nut is removed, you should be able to take down the light lens and the whole grille as one unit.
Step #4 – Remove the Fan Assembly
The next step involves removing the fan assembly. On most appliances of this type, this is a separate part and one that needs to be removed before the housing.
In most cases, this is a pretty simple task – all you have to do is just unplug the assembly from the outlet that’s located inside the housing. However, some models of bathroom exhaust fans will require you to remove the electrical wiring in order to be able to pull out the assembly.
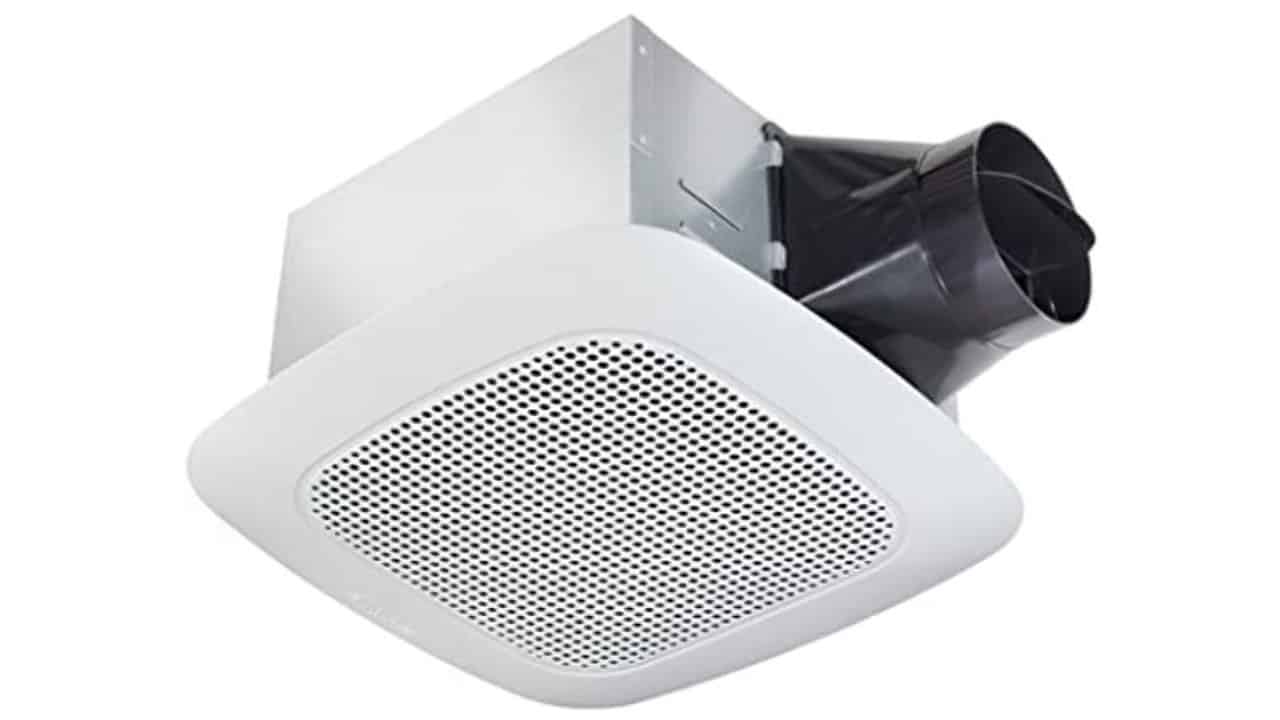
An important thing to point out here is that those who don’t want to replace the entire appliance can try replacing just the fan assembly. To match it with the replacement unit, you will have to find the model number on your old fan assembly.
Dealing with the electrical wiring can sometimes be a real hassle – there’s no doubt about that. In case you’ll be re-doing the wire nuts anyway, your best bet is to just cut the wiring. However, if you decide to do this, make sure that there’s enough slack in the wiring so that you can easily make the new connections later.
On the fan assembly, there will probably be up to 3 screws that you’ll have to undo. Furthermore, you may also have to release a couple of metal clips in order to be able to fully remove this part of the bathroom exhaust fan.
Step #5 – Unfasten the Metal Housing
Now that you’ve completed the previous step, you should be able to remove the fan’s metal housing. You may also have to remove a part called the bracket.
Some manufacturers of bathroom exhaust fans sell these appliances together with metal brackets. As you can already guess, this part is attached to the ceiling joists, and then the bathroom fan – or its housing, to be more precise – is attached to these brackets.
However, this isn’t always the case. Sometimes, the housing is attached directly to the ceiling joists – without the bracket. Regardless of how the housing of your bathroom exhaust fan is secured, you will have to remove it.
Do you have access to the attic? If so, you should be able to go there and simply unfasten the bathroom exhaust fan housing from the joists.
An important thing to mention here is that the attic can be a pretty dangerous working environment. What is more, not only can you harm yourself – by breathing in fiberglass, for example – but also cause hairline drywall ceiling cracks and insulation damage, if you’re not careful enough.
If you don’t have attic access, on the other hand, you should still be able to deal with the housing directly from the bathroom – it’s just that it’s going to be a bit more difficult.
You will have to use a ladder in order to be able to remove the screws or nails that are keeping the housing secured to the joists. You’ll also need to disconnect the duct (more on that later).
Those who can’t do this directly from the bathroom but also don’t have attic access (or simply don’t want to go there) will have to loosen the housing by using a reciprocating saw. Check out our post on how to replace bathroom exhaust fans without attic access as well.
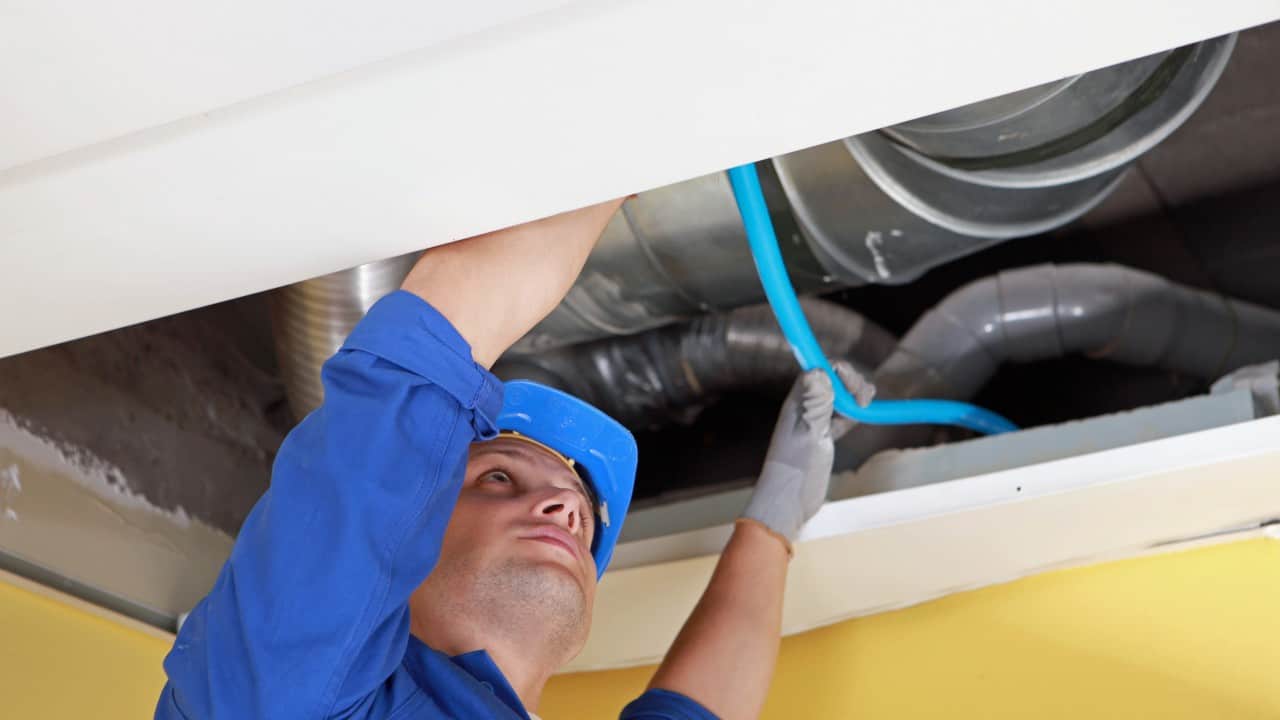
Step #6 – Disconnect the Duct
If you’re removing the exhaust fan from the bathroom, the easiest way in which you can access the duct is to simply lift the housing of the fan into the ceiling hole.
Once you’ve lifted up the housing, tilt it up a bit and you should be able to reach the duct.
In most cases, this part will be zip-tied or taped to the adapter. Whichever the case may be, remove the zip tie/tape and then simply detach the duct from the fan housing. If you are thinking of replacing the duct, check out our post on the best ducts for bathroom exhaust fans.
Step #7 – Disconnect the Wiring
The next step involves disconnecting the electrical wiring. Once you’re done with the duct, the only remaining part that needs to be removed is the wiring.
In most bathroom exhaust fans, the housing and the wiring are connected via bushing. The bushing is typically made out of plastic or metal and, by turning it counter-clockwise, it can be loosened. Some bathroom exhaust fans also have wiring covers – if yours does, you’ll have to remove it as well.
Once you’re done with all of this, just pull the electrical wiring away from the housing.
Step #8 – Remove the Fan Housing
After the removal of the duct and the electrical wiring, the next thing you’ll have to do is remove the housing of the bathroom fan from its place in the ceiling.
You may have to take a drywall saw (keyhole saw) and cut out a couple of inches in case the fan housing is too big for the drywall hole.
To pull it through the drywall hole more easily, try lifting the bathroom fan housing at an angle.
Check out our guide on how to oil a bathroom exhaust fan as well.
The Takeaway
While it may seem like a complicated task at first, removing a bathroom exhaust fan isn’t so difficult. However, as I explained above, there are a couple of key steps to removing this appliance in a safe and hassle-free manner.
Detaching the housing of the bathroom exhaust fan from the ceiling joists is almost always the trickiest part of the process. Is the housing of your bathroom fan nailed to the aforementioned joists through metal tabs? If that’s the case, you’ll probably have to go to the attic.
However, if you really don’t want to mess with the attic (or if you don’t have access to it), your best bet is to get a reciprocating saw and loosen the fan housing. Also, remember that removing the housing from the bathroom sometimes requires cutting away a couple of inches of the drywall.
That’s it! I hope this guide has been helpful to you and that you’ll manage to remove your fan in a safe and trouble-free way. Before choosing a brand new model for your bathroom, make sure to check out my article on the best bathroom exhaust fans. And, if you have come to the conclusion that standard fans are too big a hassle to deal with, check out our pick for the best bathroom window exhaust fan.