Sometimes, homeowners want to insulate the existing interior walls of their homes. This is particularly true for the owners of older houses, i.e. buildings predating World War II.
While adding insulation to existing walls may seem like a tricky task at first, it is actually an eco-friendly home upgrade that can be done by pretty much anyone – as long as they use the right insulation and have the right tools. I’ve decided to thoroughly research this topic and provide you with all the necessary information you’ll need for this project.
The best way to approach the task of insulating interior walls without having to remove the drywall is by using blow-in insulation to fill the finished walls.
Although it’s true that this type of insulation is typically used as the attic insulation – and also for the basement – it works perfectly well as the wall insulation too. As it creates a solid barrier for thermal protection, It can be used to insulate internal walls without removing drywall.
Here’s how to add insulation to your interior walls:
- Use a stud finder to find the studs
- Drill holes for insertion
- Install insulation in the wall
- Do drywall patchwork
An old house will almost always be susceptible to various temperature problems (like cold air drafts) and these often lead to high energy costs in both colder and warmer months of the year.
These kinds of issues can be prevented by using blow-in insulation – such as rock wool, cellulose, or fiberglass loose-fill insulation – to insulate walls. Keep reading to find out everything you need to know about adding insulation to already-existing interior walls.
Contents
The Tools You’ll Need:
- Blow-in insulation
- Insulation blowing machine
- Drill with large bits
- Wall-repair kit
- Stud finder
- Ventilation mask
- Worker’s gloves
- Protective goggles
- Cleaning towel
- Putty knife or a trowel
- Tarp
Steps to Insulating Finished Interior Walls
Step #1 – Find the Wall Studs
The first thing one needs to do when insulating walls in this way is to find the studs inside of them. For this, you’ll need to use a device for locating these framing members – such devices often feature smart sensors and rarely cost more than $30.
Once you find the studs, take a pencil or a piece of chalk and mark the areas. By doing so, you’ll be outlining the width of the aforementioned framing members.
In most cases, the distance between individual framing members will stand at around 14” to 16”. It is usually shorter between the windows.
Step #2 – Drill Holes for Insertion
The next thing you’ll have to do is mark the locations of the future installation holes. For this, you will probably have to use a stepladder.
It goes without saying that these holes must be centered between the aforementioned studs. What is more, you will need to make sure that all of them are about 8” below the ceiling.
An important thing to mention here is that you will have to check behind the first few holes drilled in the wall in order to ensure that there are no wires or pipes running behind your other drilling points.
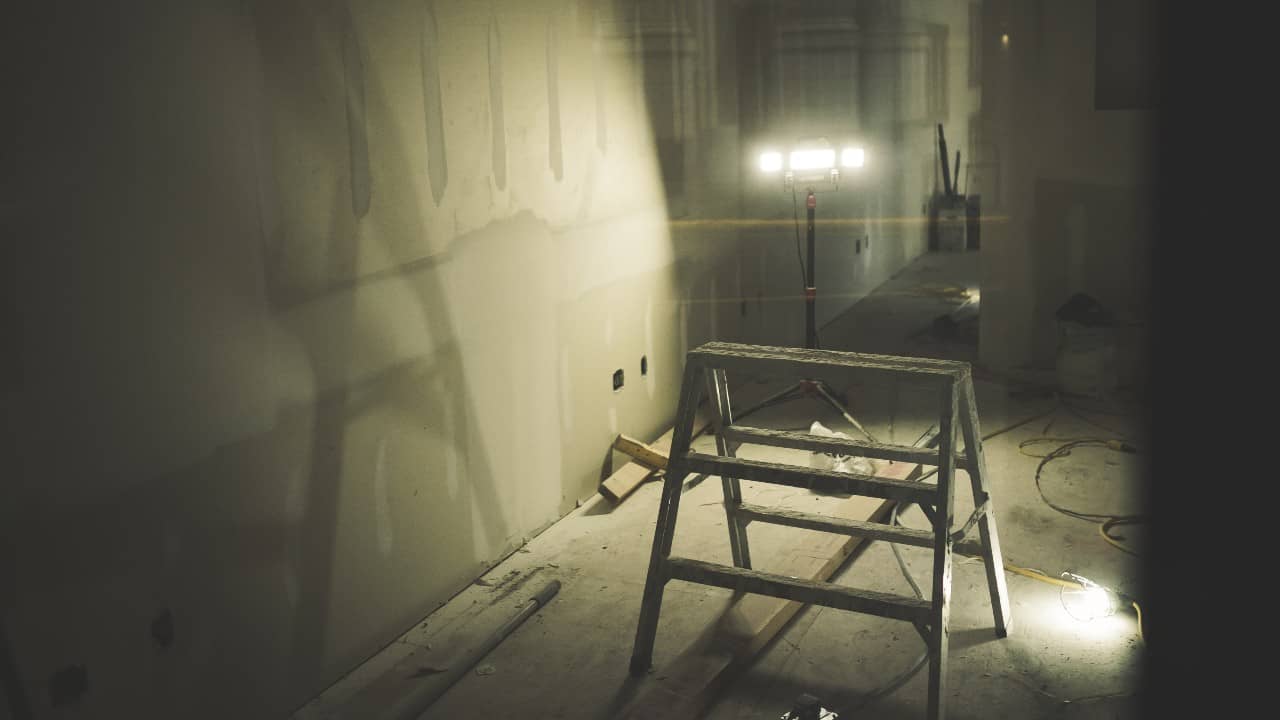
For additional safety, I would also recommend turning off the power to the room you’ll be working in. In case this makes the room dark, simply set up a work light.
Take your drill and make relatively small holes (2”) on those drywall areas that you’ve marked. In order to ensure that the insulation – whether you’ll be using spray foam insulation or some other type of it – piles up naturally, it’s important to drill these holes as high as possible. By doing so, you’ll be creating an even layer behind your house wall.
Step #3 – Add Insulation to the Wall
Take the nozzle of your insulation blowing machine and place it into the first of your drilled holes. It’s important to push the nozzle as deep into the hole as possible, as well as to point it downwards while doing so.
The next thing you’ll want to do is place a sizable piece of fabric – like a large towel – around the aforementioned hole. By doing so, you’ll be creating a barrier whose job will be to stop the insulation from flying out while you’re using the blowing machine.
Turn on the blowing machine and feed the foam injection insulation or other types of insulation between the wall studs. Continue injecting the insulation of your choice into the wall cavity and only stop once you start feeling the resistance, i.e. when the insulation starts backing into the nozzle.
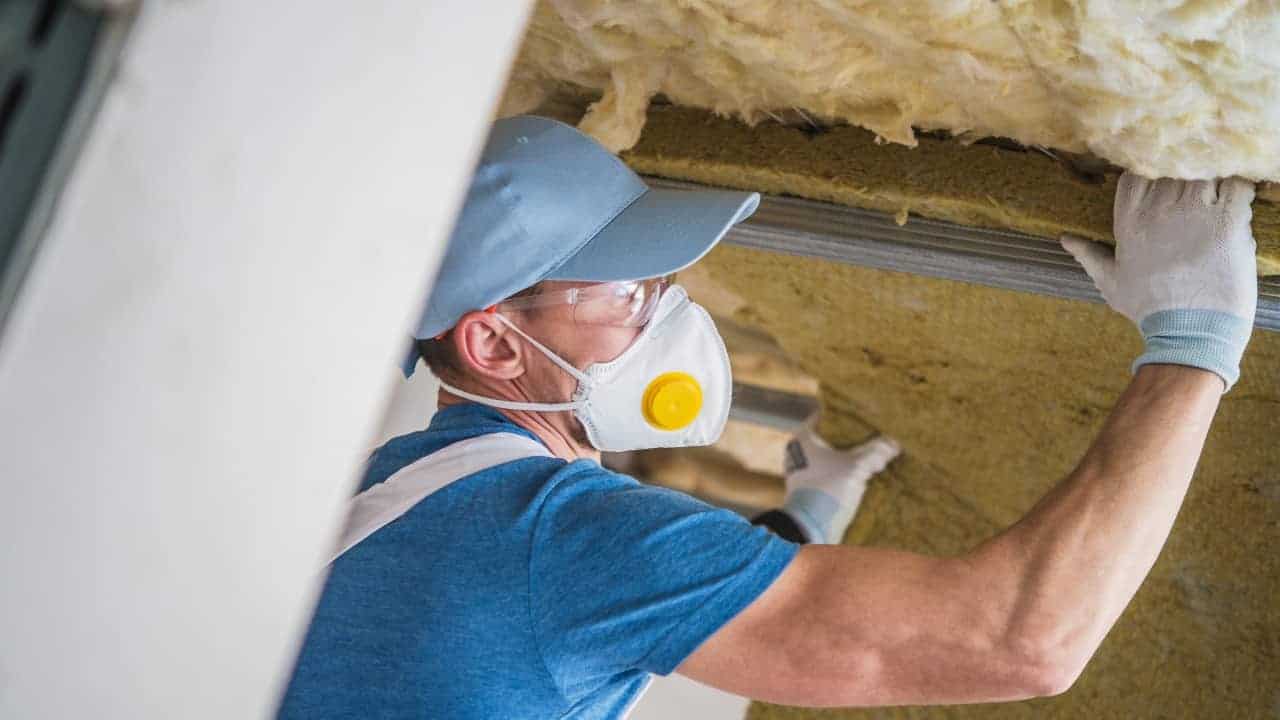
It’s essential that you wear a ventilation mask and protective goggles while doing this – a lot of debris and dust will be kicked up during this job. Keep filling more holes until you have filled all of the wall cavities in the room with insulation.
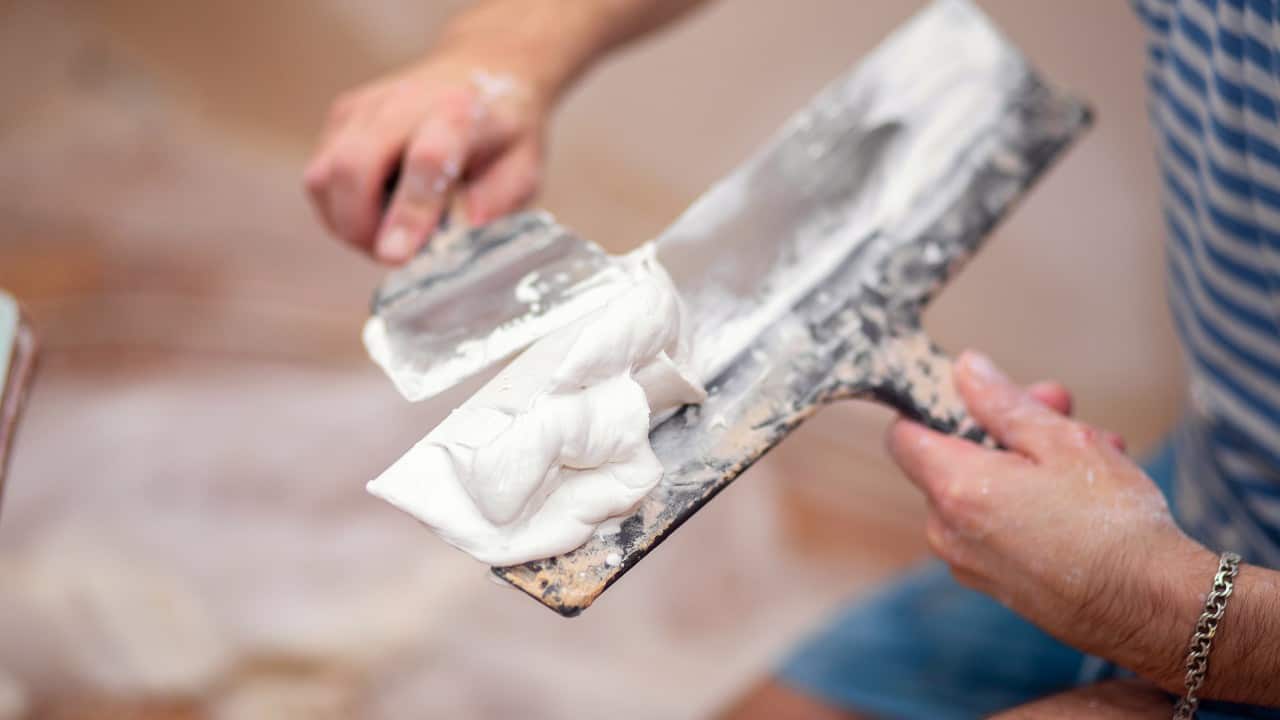
Step #4 – Do Drywall Patchwork
Once you’re done adding new insulation to your interior walls, you’ll be able to do drywall patchwork with the help of your drywall repair kit.
Go over each drill hole and apply spackle and mesh as required. Once the spackle is completely dry, you’ll want to prime and paint this area so that it looks exactly the same as the surrounding wall.
How to Insulate an Old House Without Removing Walls?
Adding insulation to the walls of an older home without removing them can be done – here’s how:
Insulate the Interior Walls
Insulating the walls of an older home – in order to achieve a high R-value and stop the air leaks – is usually done by inserting the insulation behind the walls themselves, just as I described in the steps above. Blow-in insulation – such as fiberglass beads or injection foam (spray foam) – is the best choice for this.
Obviously, inserting fiberglass or injection foam into the walls will require the creation of wall cavities. In other words, you’ll have to drill holes in order to be able to add insulation between the joists. Doing something like this shouldn’t be an issue for anyone possessing basic carpentry skills.
Another option would be to hire an expert to complete this project for you. Depending on the amount of required insulation, the state of the structures behind the drywall, as well as the size of the room, a professional may charge you up to $800 for this type of job.
Double-Insulate the Roof and the Attic
f you don’t really want to insulate your entire home and risk a variety of potential problems in that way (structural damage within the walls and excessive humidity, to name a few), your best bet would be to simply add an additional layer of insulation to your roof attic. Pricewise, this shouldn’t cost you more than a couple of hundreds of dollars.
The kind of insulation you will have to use for this project should depend on the attic’s layout, as well as on the type of already-existing insulation in that space. To make these areas even more insulated, you could also use some sealant and weather stripping.
Repair Exterior Brick Base

Does your house have vinyl siding? If so, keep in mind that even such homes have brick bases, which are typically between five and six feet tall.
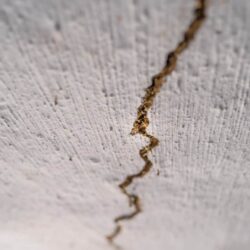
The problem with these brick bases is that the mortar between the bricks can sometimes “go bad”, i.e. slowly disintegrate over time. This usually leads to the appearance of gaps. As you can already guess, these “weep holes”, as they’re often called, can lead to water leaks and drafts.
In my opinion, it’s best to let experts fix these cracks – they will patch them up properly and, in that way, improve your home’s R-value and lower the energy bill.
Depending on the square footage of the area that needs to be fixed, repairing the exterior brick base can cost up to $500.
Seal the Windows
Double-checking the windows of your home is never a bad idea. After all, windows are among the most common culprits behind energy loss, and this goes for both single and double-pane windows.
Thoroughly inspect all of your windows and repair or replace damaged frames. If you find any gaps, make sure to seal them.
If you have single-pane windows, it would be a good idea to insulate them with the help of window film. I would also recommend installing a blind covering or a thermal curtain – these are guaranteed to make your windows even more insulated.
You shouldn’t have trouble finding these kinds of window dressings online or at your local hardware store.
Seal the Crawl Space
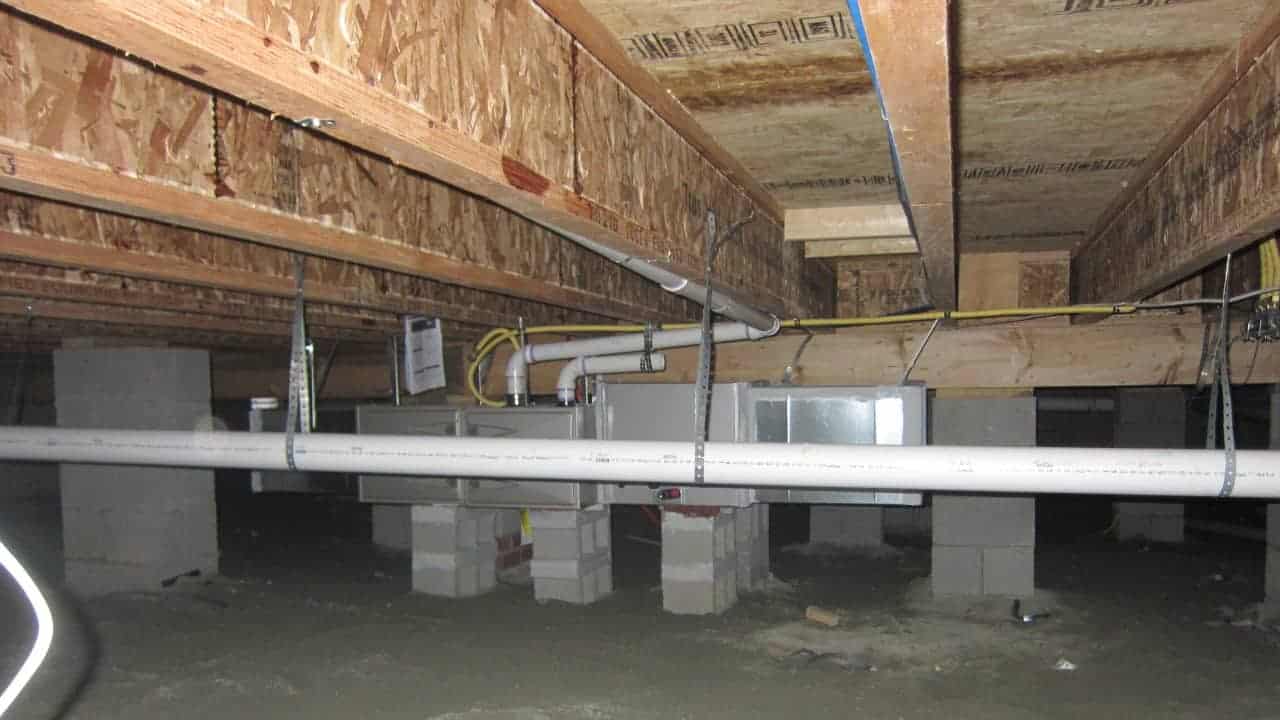
If there’s a crawl space or a basement beneath the first floor of your home, make sure to inspect it thoroughly – see if there are any signs of dampness, mold, or mildew in the area. Things like these can significantly contribute to your home’s overall energy loss throughout the seasons.
In summary, it’s good to have a full-steam plan of attack when it comes to protecting your house from energy loss.
Putting Insulation Over Drywall – Yes or No?
It is completely possible to install insulation over the drywall if you want to do so. However, this is something I definitely wouldn’t recommend.
The main reason why you wouldn’t want to put insulation over drywall is that, by doing so, you’ll be making your room smaller. What is more, you will also have to cover the insulation with something – if having it visible is not an issue for you, that is.
There is, however, one thing that homeowners who decide to put insulation over drywall can consider doing, and that’s installing a “false wall” over the insulation. The obvious disadvantage to this solution is that it’s going to make the room even smaller.
If you really want to insulate walls of your home without cutting holes in them – which would allow you to insert insulation – consider using thermal blankets and other types of thermal barriers.
The Takeaway
In case you’re experiencing problems with temperature regulation or if your house is on the older side, insulating the interior walls is certainly something you’ll want to think about.
However, in my opinion, the best course of action would be to consider insulating other areas of the house first – the windows, the basement, the attic, and the roof. As you probably already know, it is through these areas that a typical house loses most of its energy.
If you’re wondering whether it’s better to insulate interior walls from the outside or from the inside, I would recommend choosing the former option. Doing so means ensuring that the exterior of the house – whether it’s made out of vinyl or bricks – has a solid surface that is completely free of cracks and gaps.
Hopefully, this article has helped you learn how to properly insulate your interior walls and how to complete this project in a hassle-free manner. Good luck!