It goes without saying, but a bathroom exhaust fan works better when it’s clean. Not only does it run quieter, but it also provides better performance, i.e. it exhausts more air.
In addition, cleaning one of these appliances on a regular basis decreases the chances of fire hazards caused by dust build-ups. As it amasses, the dust can choke the fan’s engine, which, in turn, leads to overheating and a possible fire.
If you’ve got yourself a brand new bathroom exhaust fan and want to keep it in a good working condition, you’re in the right place. In this article, I’ll provide a simple step-by-step guide on cleaning these appliances and also cover a few other important topics related to this matter.
Contents
Cleaning Bathroom Exhaust Fans – The Overview
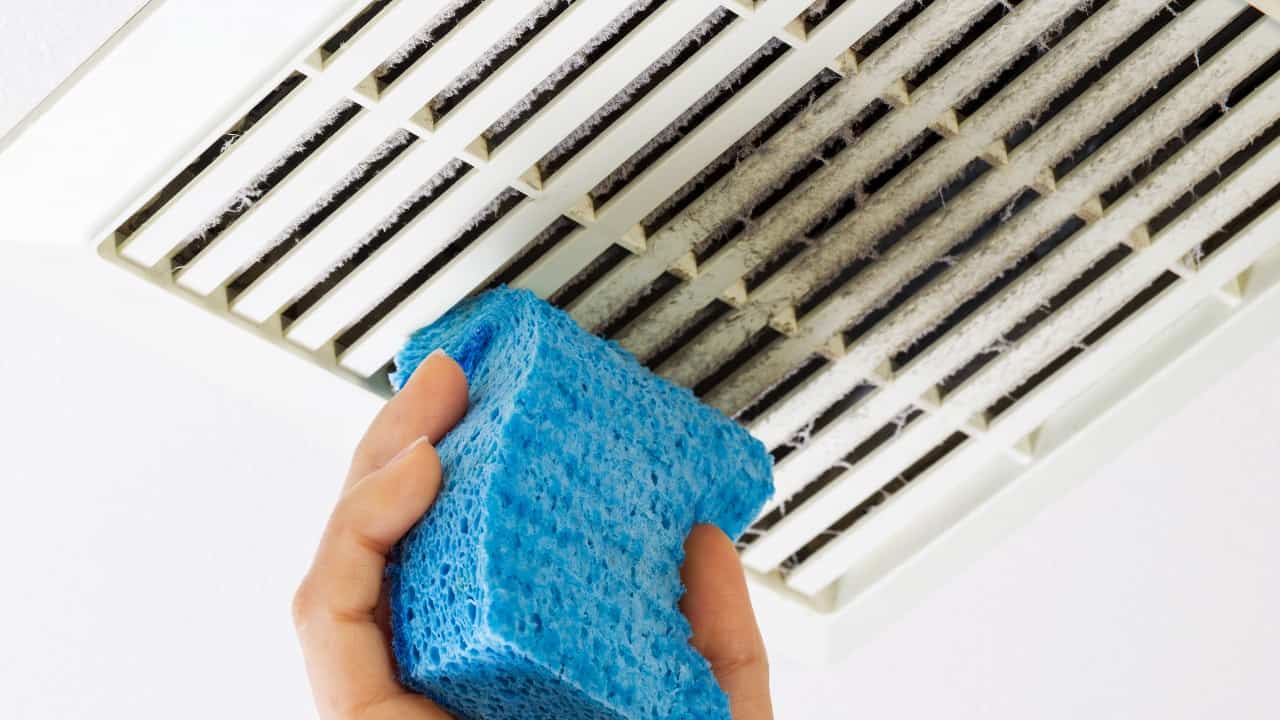
Unfortunately, the bathroom exhaust fans found in most homes are very dirty. As I said above, a buildup of dirt can seriously impact the performance of this appliance. In addition, those planning to sell their homes should know that a dirty fan can make a pretty bad impression on a potential buyer.
Besides the considerable performance reduction, the accumulation of dust can lead to serious safety problems – a bathroom exhaust fan that’s caked with dust can become a dangerous fire hazard.
And while it’s true that most of the newer models come equipped with overheating safety switches, the same cannot be said for older exhaust fans. So, if you’ve got an older model, it’s even more important that you clean it regularly.
Before you start, it’s a good idea to have an understanding of what bathroom fans do exactly. Check out our What Is the Fan In the Bathroom For? post for more information.
A Step-By-Step Guide on Cleaning Bathroom Exhaust Fans
Step #1 – Remove the Cover
Obviously, the first step in accomplishing this task is the removal of the fan’s cover.
Do this by slowly and carefully pulling on the cover’s sides. Keep doing this until there’s about an inch of free space between the cover and the appliance itself.
Once you’ve done this, you’ll have to find the metal prongs – their job is to keep the cover attached to the fan. Find them by putting your fingers behind the cover.
Once you can feel the metal prongs with your fingers, simply squeeze them together in one quick motion. This will cause the fan cover to come off.
When it comes to cleaning the cover of a bathroom exhaust fan, the easiest way to do it is to just rinse it in a sink. Use dish soap, a bristle brush (or a sponge), and warm water.
Step #2 – Disconnect the Power
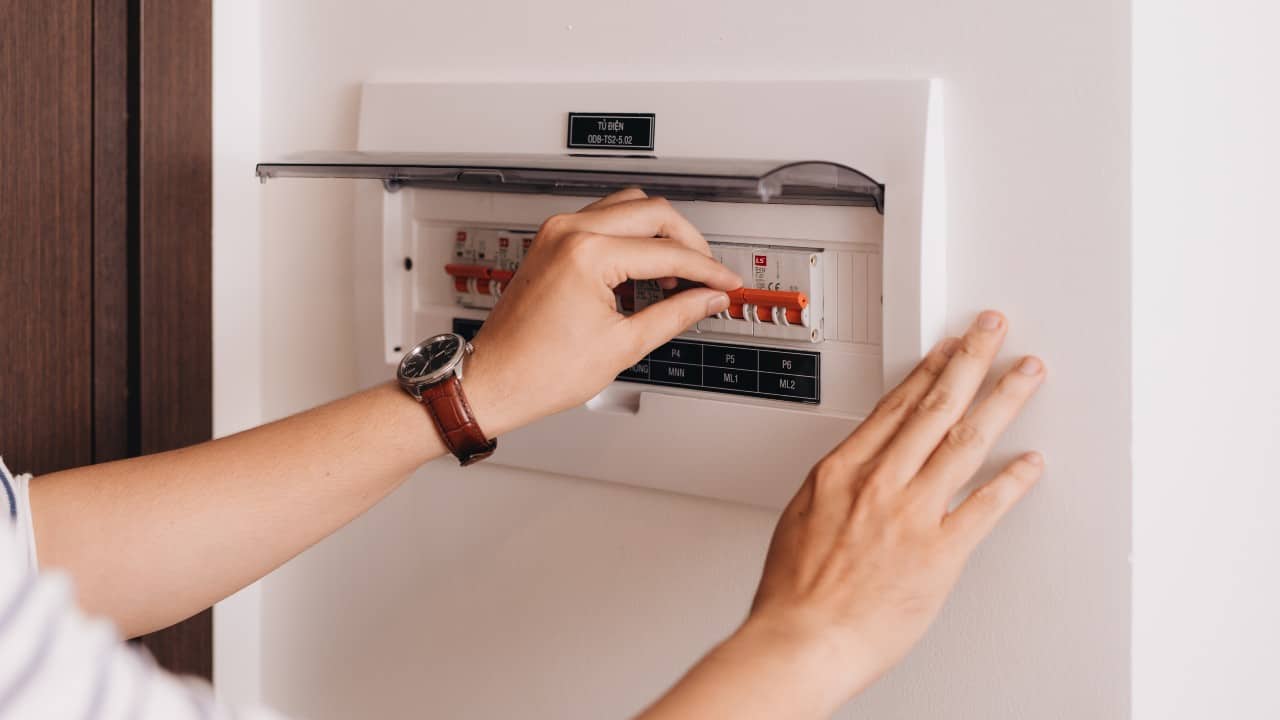
Now that the exhaust fan cover is detached from the appliance, you will have to disconnect the power. There are two ways to go about this – flipping the bathroom electrical breaker or simply unplugging the plug that’s located inside the housing.
Some appliances of this type have plugs hidden behind their covers. If this is the case with your model, simply unplug this plug.
In case you can’t find an outlet inside the housing, on the other hand, simply disconnect the power to the bathroom by flipping the correct breaker at your electrical panel.
If you’re not sure whether you’ve done this in the right way, do not proceed further before checking the voltage with one of those cheap non-contact voltage testers.
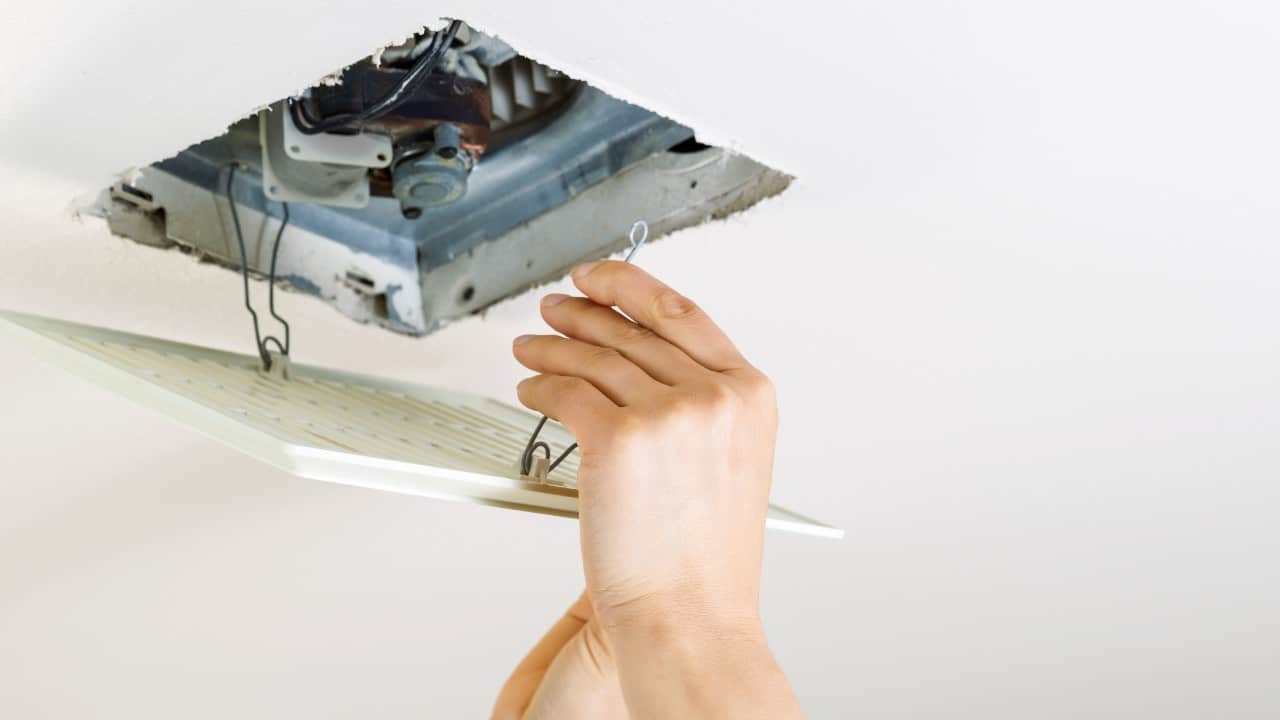
Step #3 – Remove the Bathroom Exhaust Fan
In order to fully clean an appliance of this type – that is, to clean both its blades and the engine – you will have to remove it from its housing. While it’s true that you can skip this part, doing so means that you simply won’t be able to properly clean the fan’s blades.
How to remove a bathroom exhaust fan? For this task, you will only have to remove a couple of small metal clips and unscrew a few screws. After removing these screws and clips, take the bathroom exhaust fan with your hands and simply pull it out of the ceiling hole.
While doing this, make sure to be very careful when it comes to disconnecting the vent hose. Also, in order to fully remove the appliance from the ceiling cavity, you will have to detach all electrical wiring.
You should be able to easily do this by removing the so-called “quick connects”. If these are not present and everything looks a bit too complicated for your DIY skills, your best bet is to call an electrician.
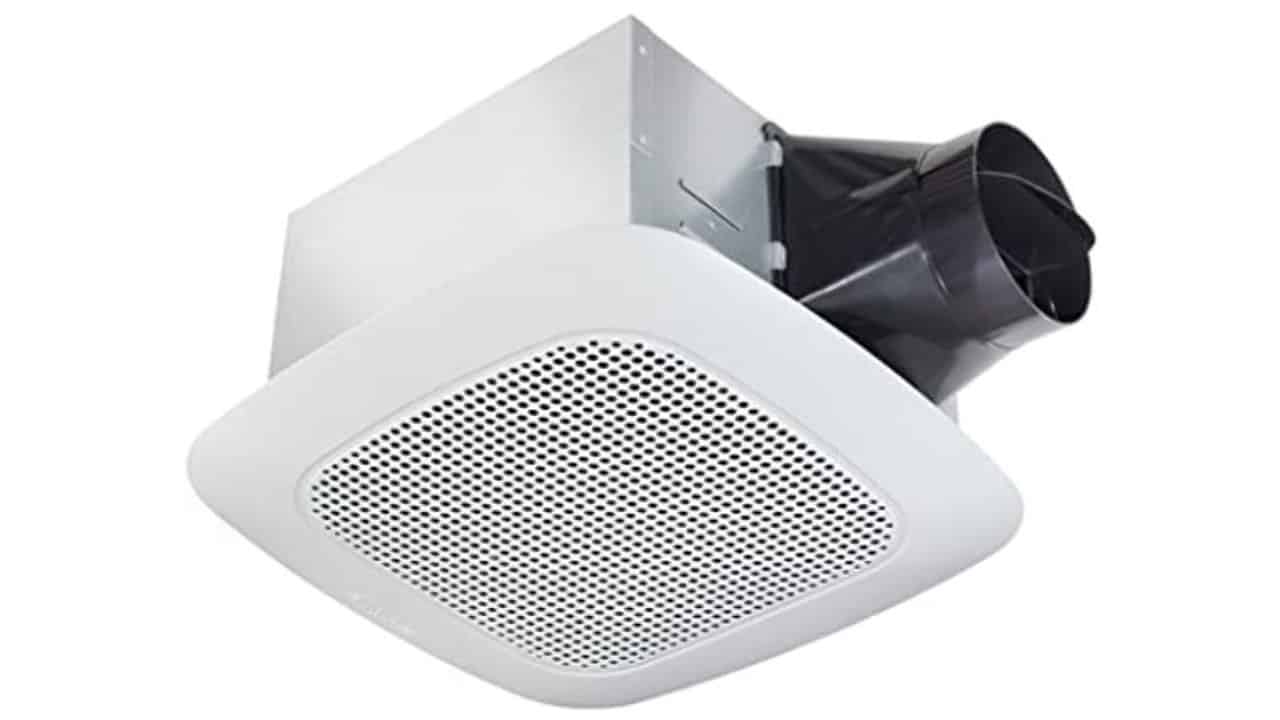
If you would like to replace your bathroom fan with a more modern one, check out our post on the best bathroom exhaust fan with light and heater. But, before you replace your fan, make sure to read about the bathroom fan venting code.
Step #4 – Use a Vacuum Brush Attachment to Clean the Fan
Once you’ve removed the appliance from the ceiling cavity, take a vacuum cleaner, mount a brush attachment, and then thoroughly vacuum your bathroom exhaust fan.
Besides the vacuum cleaner, you can also use your air compressor. This pneumatic device can be of great help when it comes to removing dust from the squirrel-cage rotor and the blades themselves. If you want to be really thorough, make sure to use a small toothbrush as well.
Don’t turn off your vacuum cleaner once you’re done with the dust that’s clogging your bathroom exhaust fan. While the vacuum cleaner is still on and the brush attachment is still mounted, reach up to the ceiling joists and clean the housing as well.
Step #5 – Reinstall the Bathroom Fan
Now that every part of your bathroom exhaust fan is sparkly clean, you can place it back into its housing. Prior to screwing the appliance back into the ceiling hole, don’t forget to re-connect the electrical wires and the vent hose.
While you’re doing all of this, make sure to inspect the vent flap as well – check if it’s stuck, and if it is, unstuck it.
How Do I Clean the Vent Hose?
If you’ve successfully managed to thoroughly clean your bathroom exhaust fan but it’s still not performing in the way it should, it would be a good idea to check whether there are any clogs in the vent hose.
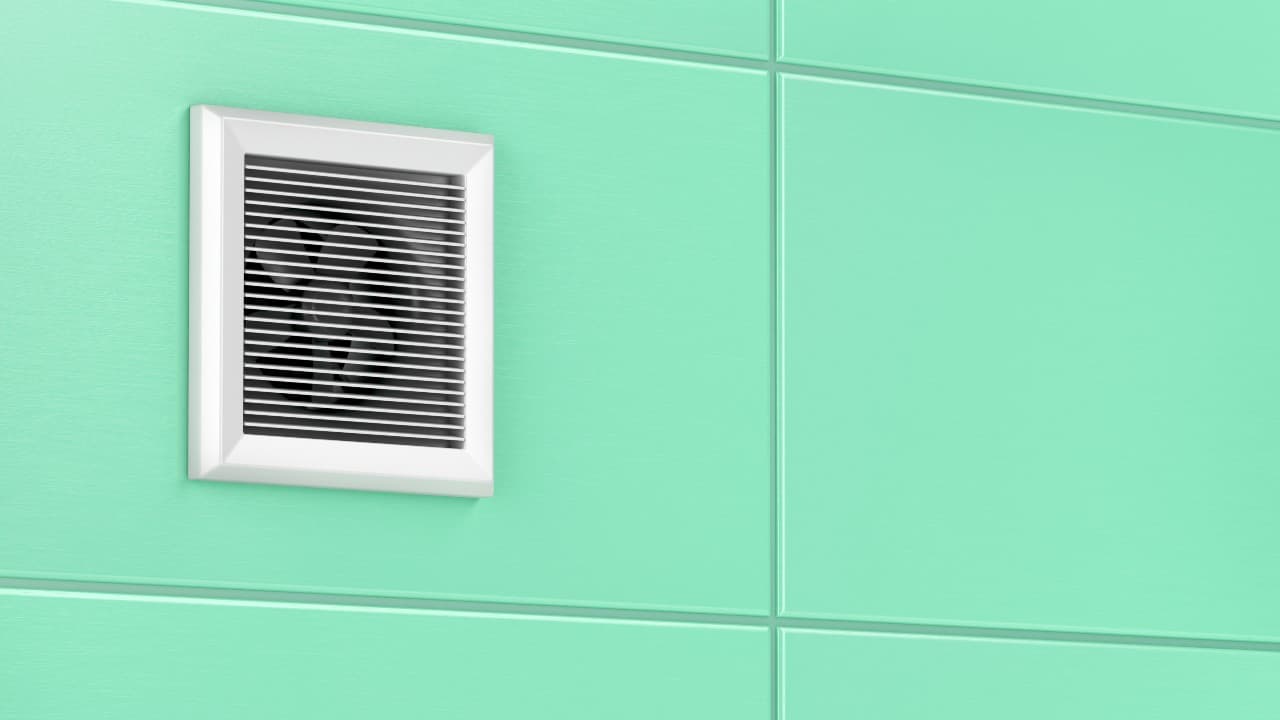
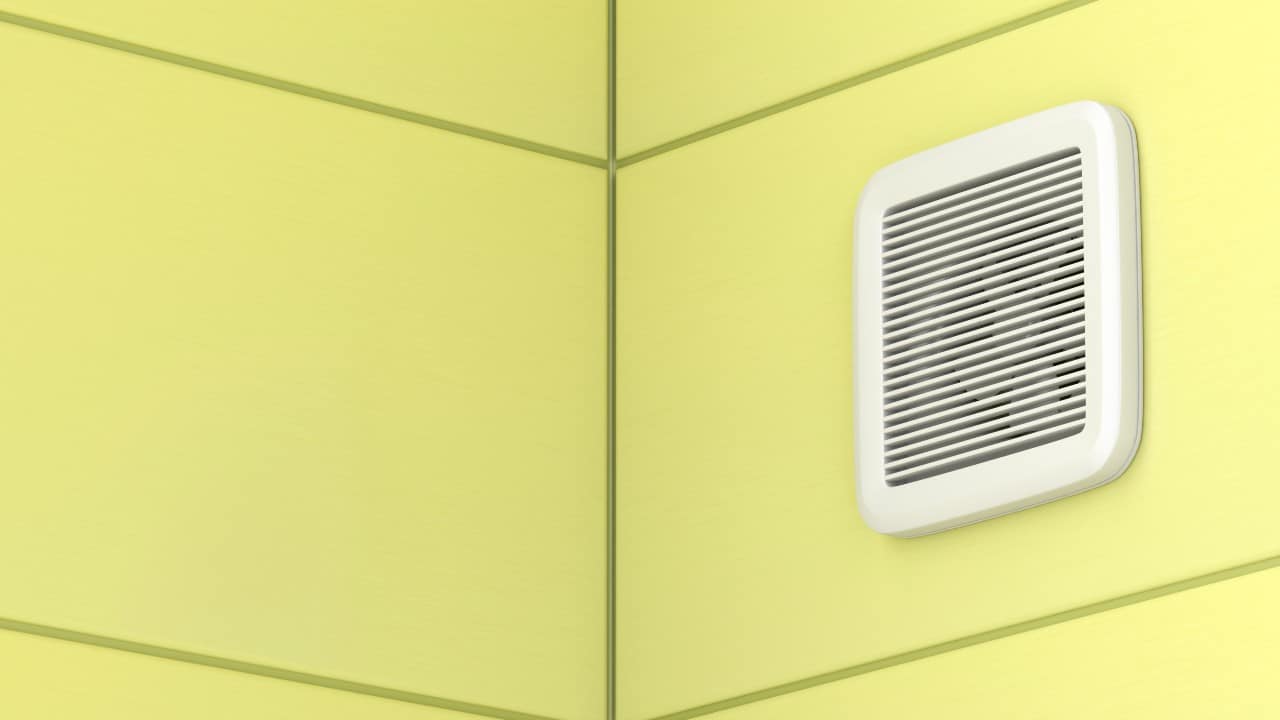
As you probably already know, these appliances are supposed to be venting to the exterior of the house – either to the roof or to a wall. The covers of the bathroom exhaust fans typically have flaps, which close when the device is not working and open when it is.
In most cases, an appliance of this type will also feature a pest screen, whose job is to keep insects and birds at bay. Birds are quite prone to making nests in dryer and bathroom vents.
Checking the airflow is as easy as it gets – you just have to turn on the device and hold your hand right in front of the exterior vent. By doing so, you’ll be able to determine whether it’s adequately exhausting air.
If there’s no airflow at all or if it feels very weak, you’re probably dealing with some kind of a clog that will have to be removed. Your best bet is to simply hire a professional vent cleaner, who will use a long hose with compressed air to remove the obstruction.
The Importance of Cleaning Bathroom Exhaust Fans
Failing to clean a bathroom exhaust fan from time to time will almost certainly result in this device slowing down and not being able to provide advertised performance.
As I said at the beginning of this article, most homeowners never really bother to clean their bathroom fans. This can lead to all sorts of problems – a reduction of indoor air quality and the appearance of mold that can severely damage the walls of your house. A horrible smell caused by excessive moisture is just a bonus.
Besides these issues, an exhaust fan that is never getting cleaned can also easily become a dangerous fire hazard. As I said above, this isn’t such a big concern with the newer fans, as these are often equipped with overheating sensors that automatically shut the appliance down when its engine becomes too hot.
However, this simple but potentially life-saving feature is not something you’re going to find on older bathroom exhaust fans. When it’s coated in dust, the engine of an older model can overheat and start a fire. Therefore, if you have an older fan, keep in mind that cleaning it on a regular basis is even more important.
The Conclusion
As you can see from above, cleaning one of these convenient devices isn’t as difficult as it may seem – all you need is a bit of free time and just a couple of simple tools.
Make sure to do this at least once a year. By doing so, you’ll be saving yourself from a myriad of potential issues and also preventing dust from impacting your fan’s performance.
Check out our post on how to insulate bathroom exhaust fan ducts as well.