A lot of homeowners who use exhaust fans in their bathrooms have to deal with condensation forming on these appliances. This can be a very frustrating issue and one that, with time, can render your bath fan useless.
A high amount of moisture inside one of these appliances can have multiple causes. Fortunately, there are a couple of common ways to stop it from occurring. If you’d like to know more about them, you’re definitely in the right place.
In this article, I will talk about:
- How to improve airflow and stop the condensation;
- How condensation can be caused by uninsulated hoses;
- How condensation can be prevented by getting a bathroom exhaust fan with a higher CFM rating;
…and more. Keep reading to learn about the methods that will help you stop the moisture buildup in your ventilation appliance.
Contents
How Do I Stop Bathroom Exhaust Fan Condensation?
A bathroom exhaust fan that forms condensation every time it’s used can be extremely annoying. As I said above, there are a few common culprits behind this kind of issue.
As someone who knows a thing or two about venting appliances, the first thing I would recommend you to do when it comes to bath fan condensation is to check whether there’s adequate airflow.
If there’s no strong airflow to the exterior or if the vent is clogged, the condensation can form very easily. This, in turn, can cause the bathroom exhaust fan to drip water.
If you’ve determined that there’s nothing wrong with the airflow and if your bathroom is located right beneath the attic, there’s a pretty good chance you’re dealing with an insulation issue. Either your bathroom vent hose or the attic itself is not properly insulated.
Step #1 – Improve Airflow by Removing the Clog
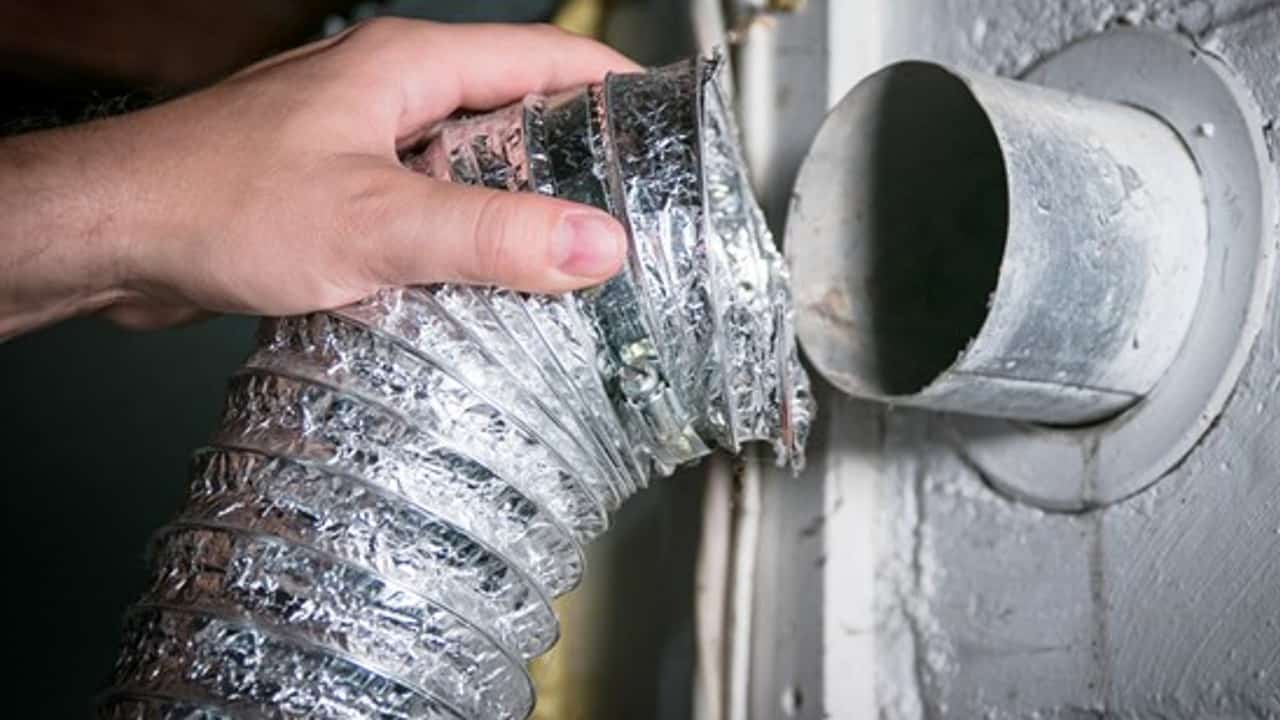
One very common reason why homeowners have to deal with condensation in their bathroom exhaust fans is a clogged vent hose.
A lot of people don’t realize how much the birds love to nest inside the dryer and bathroom vent hoses. Over the years, I have seen countless bird nests in these places – they are warm and safe, so it’s no wonder why the birds like turning them into their homes.
Unfortunately, however, a bird making a nest inside a bathroom vent hose means a complete (or partial, if you’re lucky) airflow blockage.
Besides bird nests, there are also other kinds of obstructions that can appear inside bathroom vent hoses. The vent hose could also be broken inside the wall.
If your exhaust fan makes noise every time you turn it on, that doesn’t necessarily mean that this appliance is actually drawing air out of the bathroom. There’s an easy method of checking whether it’s working properly or not.
Basically, all you need to do is take a piece of toilet paper and put it against the fan’s grille. If your bathroom exhaust fan is creating an adequate amount of suction, the piece of paper will stay on its grille. If it’s not, the paper will fall down.
Another thing you could do is turn on your venting appliance and go outside to check the vent cover. If you can reach it, put your hand against it and feel the airflow’s strength.
In case it’s weak, you’re likely dealing with some kind of obstruction in the vent hose. Another possible cause is your vent hose being too long or having too many 90-degree bends.
While doing all of this, make sure to also check if everything is alright with the flapper and the damper.
Whenever your bathroom exhaust fan is in operation, the flapper should be open in order to let the moist air go to the outside – check if it’s stuck. A damaged damper, on the other hand, can seriously impact airflow, so make sure to replace it.
Step #2 – Insulate the Vent Hose
While it’s not the best solution, venting a bathroom fan into an attic is sometimes the only option.
Is your bathroom exhaust fan venting through or into the attic? Is the vent hose insulated? If it’s not, that may be the culprit behind your condensation problem.
The condensation tends to form every time something hot meets something cold, and vice-versa. In other words, when a fan is exhausting cold interior air to the outside through an attic – which is usually very hot – the condensation can form.
It can appear both on the outside and on the inside of the aforementioned vent hose, as well as in your venting appliance. The result of this is usually dripping water. The same can happen in the opposite situation, i.e. when your fan is moving hot air through a cool attic.
A vent hose going vertically through an uninsulated exterior wall can also be a possible culprit behind a condensation issue, although that’s not very common. See our guide on how to insulate a bathroom fan duct for more information.
Step #3 – Replace the Vent Hose
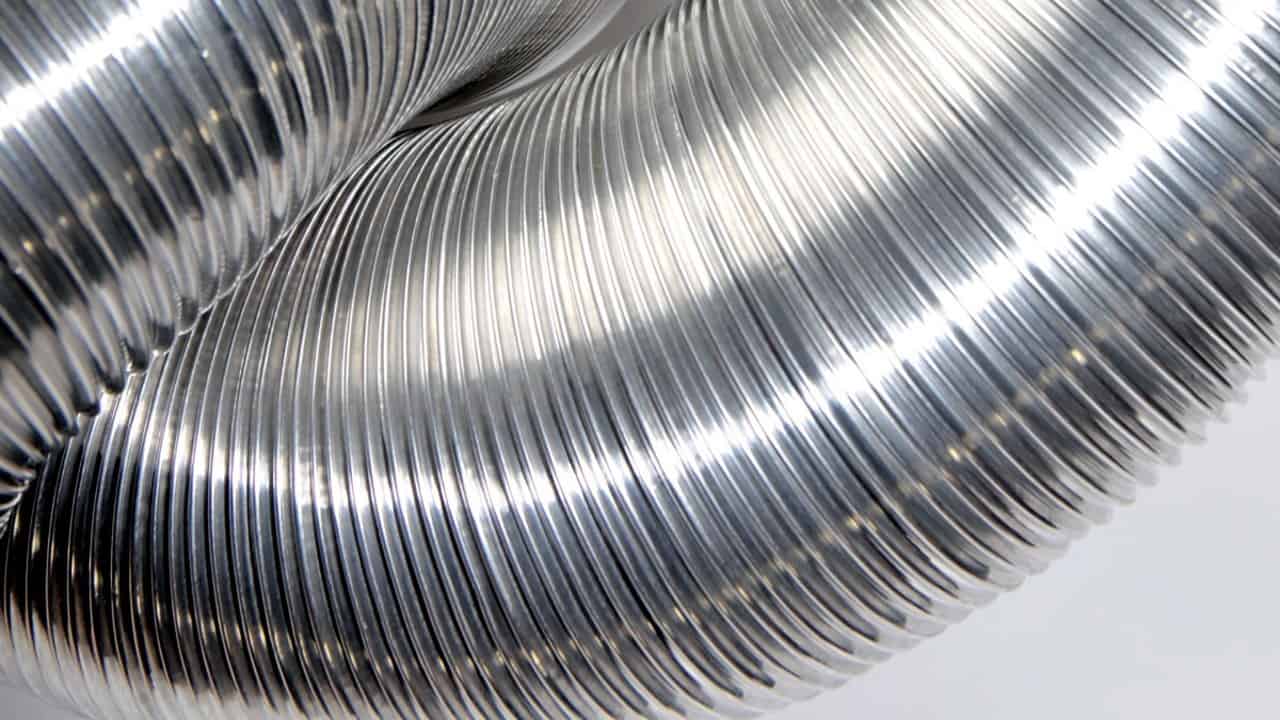
Another way of fixing bathroom exhaust fan condensation is by opting for a rigid vent hose made out of metal.
A majority of venting appliances utilize corrugated vent hoses made out of foil. These have a lot of small ridges that can, unfortunately, significantly impede airflow.
What is more, the innate flexibility of these kinds of vent hoses often results in a number of bends which, over time, can cause the accumulation of moisture.
If your flexible vent hose is going through attic space, replacing it with a metal one can be quite challenging. It is, however, definitely worth the hassle.
Another thing you need to consider here is the slope of your vent hose. It shouldn’t be sloped back towards the bathroom, but rather to the outside.
The direct consequence of a bathroom vent hose being sloped to the exterior vent cover is the drainage of condensation to the outside. It goes without saying that condensation should never drain back onto the exhaust fan.
Also, while installing the vent hose, try to keep the number of sharp turns and bends at an absolute minimum.
Step #4 – Increase the Attic Insulation
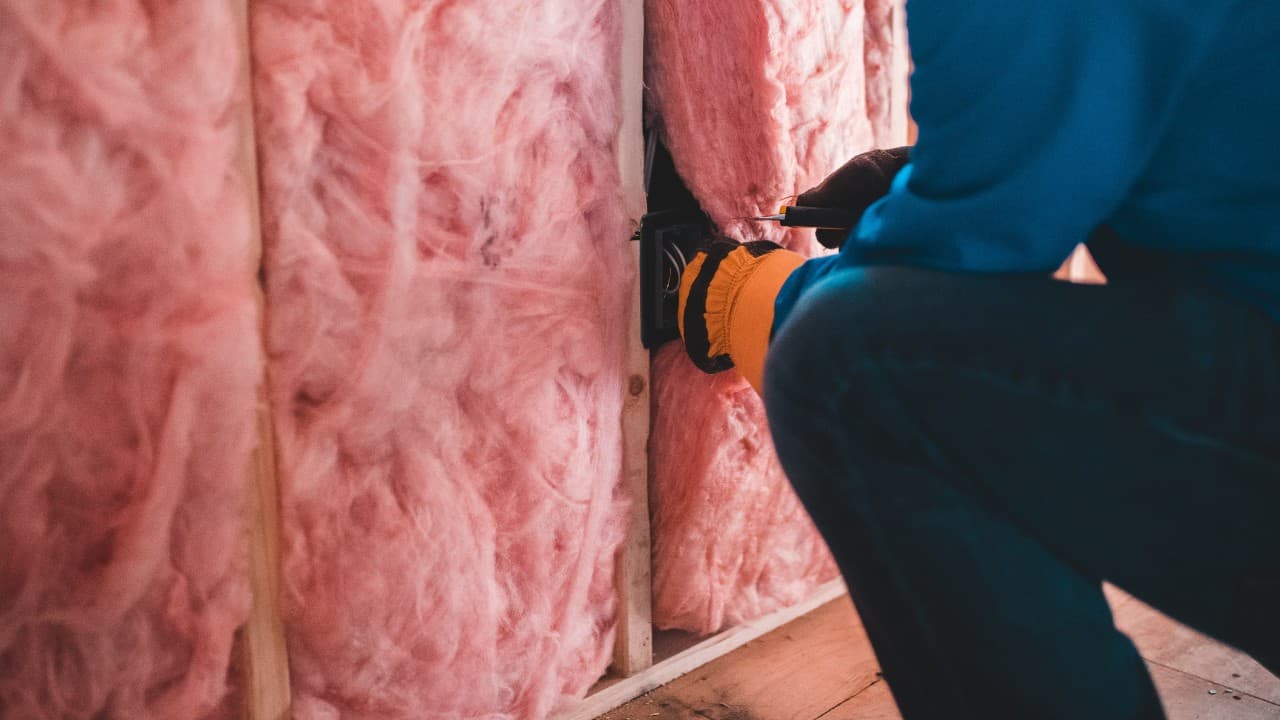
In case the attic is situated right above the bathroom exhaust fan – and the appliance is getting condensation from above – then your main problem is probably a poorly insulated attic.
Even if your venting appliance is not exhausting excess humidity to the roof (but to an exterior wall instead), an attic that is not well-insulated can still create a significant temperature difference.
If the temperature inside your attic is very low, and your bathroom fan is exhausting warm, humid air from the bathroom, then both the vent hose and the bathroom fan itself are likely to experience condensation problems, and consequently dripping water.
Over the years, I have seen plenty of poorly insulated attics and these were often the main cause behind the bathroom fan condensation issue.
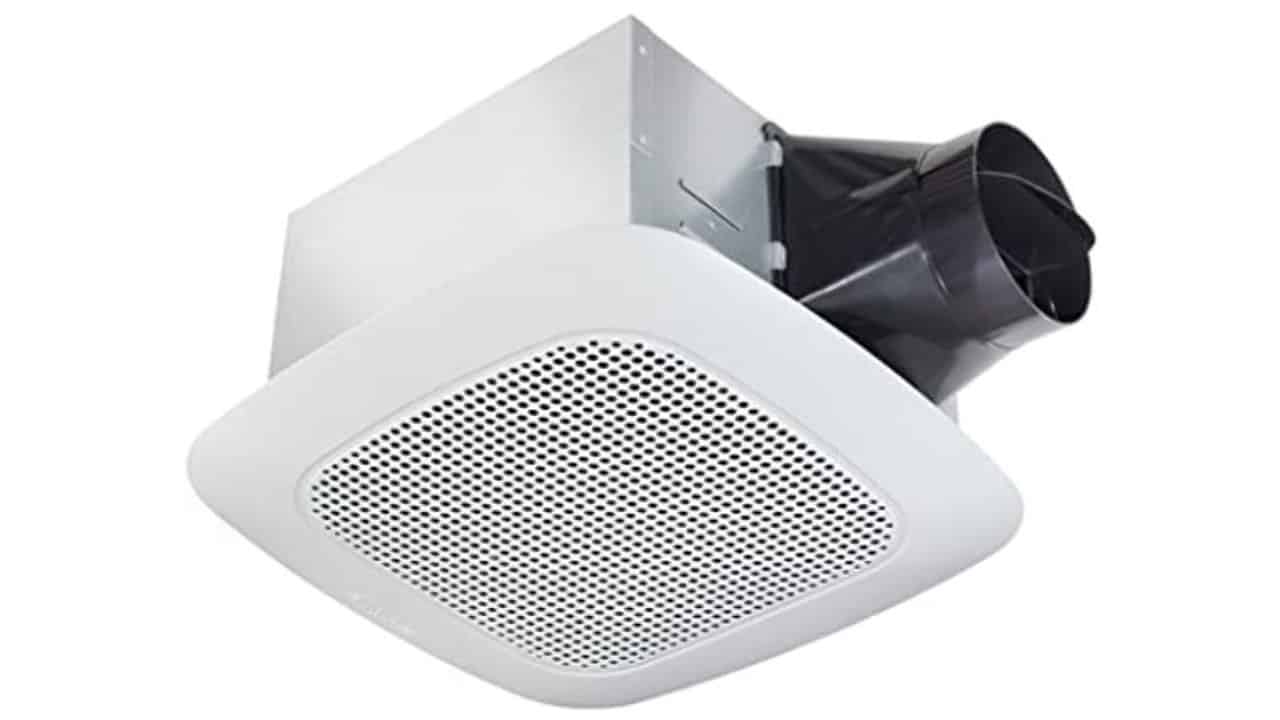
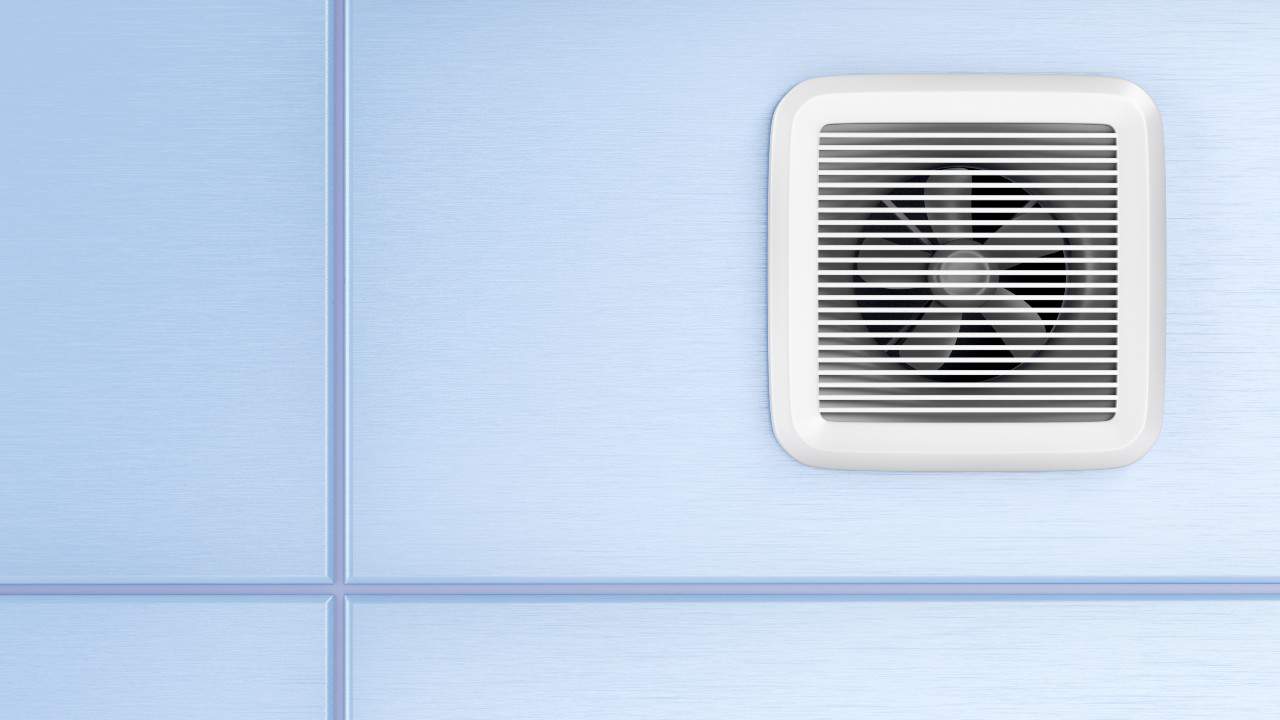
Step #5 – Get a Stronger Bathroom Fan
Replacing your old bathroom exhaust fan with a high-powered model is yet another possible way to solve the condensation issue.
As you probably already know, the strength of these appliances is rated in cubic feet per minute, or CFMs. An 80 CFM-rated bathroom exhaust fan, for example, can remove 80 cubic feet of humid air in one minute.
Most residential bathroom exhaust fans are located in the 50 – 150 CFM range. Stronger models are also available, but these are mostly used for commercial purposes. The minimum recommended CFM rating for these appliances is 50 – such units are ideal for smaller bathrooms.
If you own a larger bathroom, however, getting a 50 CFM-rated exhaust fan would be a pretty bad idea. To determine the ideal bath fan CFM rating for your bathroom, make sure to check out my bathroom fan CFM sizing chart.
Step #6 – Clean a Greasy Bathroom Fan
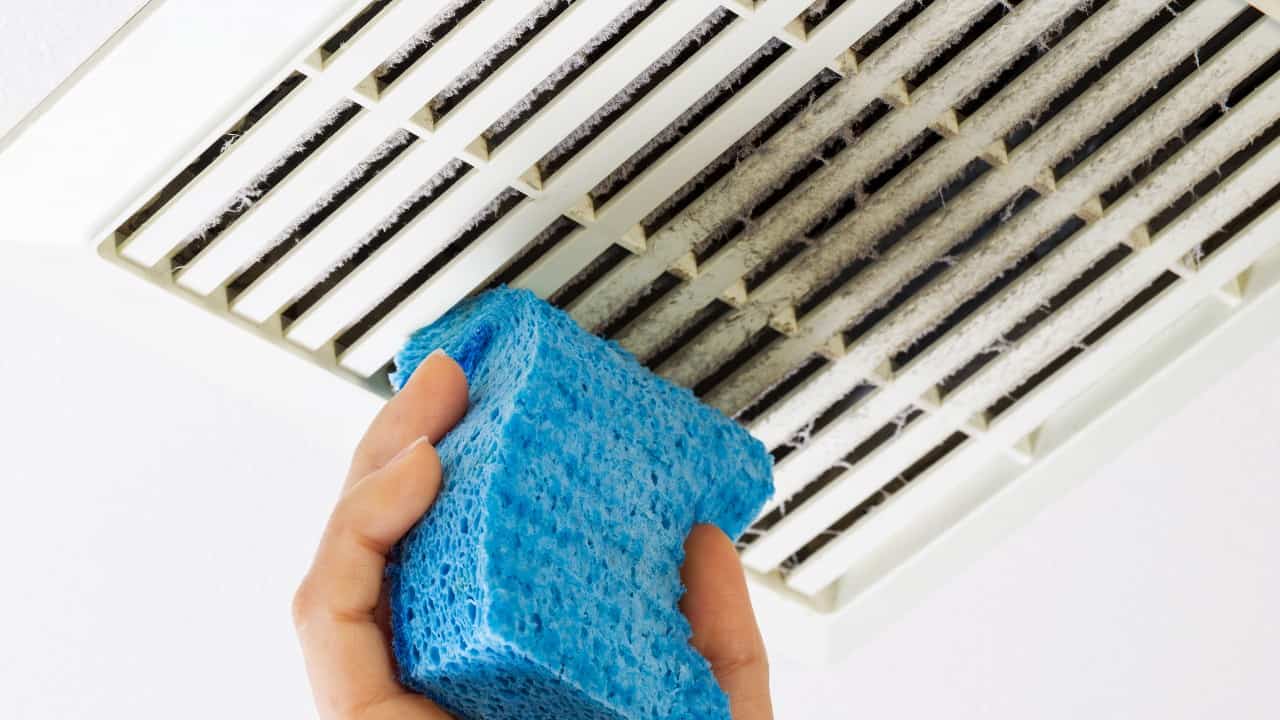
Similar to the issue with a clogged vent hose, having a venting appliance that’s very dirty is bound to impact the airflow in a negative way.
This usually leads to condensation problems as well, and can even become a life-threatening fire hazard.
Over the years, I have seen dozens upon dozens of unnecessarily dirty bathroom exhaust fans. What always surprised me the most is how a lot of homeowners simply don’t notice this and never consider giving their venting appliance a good rinsing.
The cover of a bathroom exhaust fan typically has a myriad of tiny little holes that, over time, can very easily become clogged with dust. And once this happens, a venting appliance may only become capable of removing as little as 5% of humid air out of the bathroom.
In other words, a clogged fan grille is certainly not an issue that should be underestimated.
Giving the bath fan cover a thorough cleaning can massively boost the unit’s moisture-removing capability. It can also decrease – or completely eliminate – the amount of condensation buildup.
If you’re unsure of how to approach this task, make sure to check out my article on cleaning bathroom exhaust fans.
Step #7 – Use the Bathroom Fan More
Tell everyone in your household to use the bathroom exhaust fan every time they’re having a bath or taking a shower. In addition to that, they should leave the appliance on for about half an hour after they’re done bathing or showering.
Not using this appliance during and after bathing or showering can and will lead to the buildup of condensation inside it.
While it’s true that most people do know that these machines need to be used during showering, many of them don’t know that the exhaust fans need to be used after showering as well.
Some homeowners use their venting appliances as little as possible because they want to save energy. If this is your case, I would recommend a purchase of a bathroom fan timer switch.
These simple but extremely convenient devices allow homeowners to set their bathroom exhaust fans to turn off automatically after 10, 20, 30, or 60 minutes of operation (some switches go up to 4 hours).
The only thing you have to do is choose a preset countdown setting and that’s it – your venting appliance will shut down by itself after the selected time elapses.
The Takeaway
And there you have it – a list of possible causes behind condensation in a bathroom fan and ways to deal with them.
The absolute first thing you need to do is check whether there is adequate airflow. If that’s not an issue, maybe your vent hose or the attic are poorly insulated or the fan’s grille is clogged with dust and debris.
Whatever the problem may be, I hope this guide will help you solve it.